To replace bosch performance line cx speed sensor magnet on a spoke, remove the old spoke magnet by unscrewing its 2.5 mm hex retaining screw, slide the new genuine Bosch magnet onto a clean, straight rear-wheel spoke roughly 5–10 cm from the hub, align the magnet face within 5–17 mm of the frame-mounted sensor (parallel, not angled), tighten the screw to about 0.8 Nm, then spin the wheel and confirm a speed reading in the Bosch Kiox/Purion/Intuvia display or the eBike Flow app. The whole job takes under 10 minutes and only requires a 2.5 mm hex key, a clean rag, and the OEM Bosch spoke magnet (part 1 270 016 819).
Below is the full 2026 walkthrough — the right tools, the correct air-gap, the most common reasons a freshly installed magnet still won’t register, and a few accessories that make the job (and the test ride afterwards) a lot easier.
When shopping for replace bosch performance line cx speed sensor magnet, it pays to compare specs, capacity, and real-world runtime before committing.
Why the Bosch Performance Line CX Spoke Magnet Fails
The spoke magnet on a Performance Line CX system is the trigger that tells the motor controller how fast the rear wheel is turning. Without a clean signal, the motor either cuts assist entirely, throws an Error 503 (“Speed Signal”) on the display, or behaves erratically — surging at low speeds, ghost-pedalling, or refusing to engage above walk-assist. On 2020+ Smart System and Gen-4 CX drives, the sensor is integrated into the rear dropout (Bosch calls it the “speed sensor disc” on some models), but the vast majority of CX bikes still rely on the classic spoke-mounted magnet paired with a chainstay or seatstay reed/Hall sensor.
![Lamicall Bike Frame Bag Waterproof - [1s Release] [2 in 1] Bike Phone Mount Holder, Bicycle Top Tube Bag, Cycling Pouch with Rain Cover, Bikes Accessories Gifts for Phones Under 7"](https://ebikeroo.com/aimg/images/I/71VKkKd2xtL._AC_SX679_.jpg)
Common failure modes include the magnet shearing off after a rear-wheel strike, the retaining screw vibrating loose on rough singletrack, the spoke getting replaced during a wheel rebuild without the magnet being re-fitted, or simply the magnet sliding along the spoke until it’s outside the sensor’s detection window. If your Kiox shows 0 km/h while pedalling, the assist drops out above ~6 km/h, or you see Error 503 / 504, the magnet (or its alignment) is the first thing to check before suspecting the sensor or wiring harness.
Tools and Parts You Need
Keep this short list on the workbench before you start — nothing exotic, but skipping the genuine Bosch magnet is the #1 reason DIY fixes fail.
- Genuine Bosch spoke magnet kit (Bosch part 1 270 016 819, sometimes sold as “Bosch Speed Sensor Magnet for Spoke”). Aftermarket round neodymium magnets work intermittently but routinely throw error codes after a few rides because the field strength and polarity don’t match Bosch’s spec.
- 2.5 mm hex (Allen) key — a T-handle is easiest.
- Small torque driver rated to 0.8–1.0 Nm if you have one (optional but recommended).
- Steel ruler or digital calipers for setting the 5–17 mm air gap.
- Isopropyl alcohol and a lint-free rag to clean the spoke and the sensor face.
- Smartphone with the Bosch eBike Flow or eBike Connect app for verification.
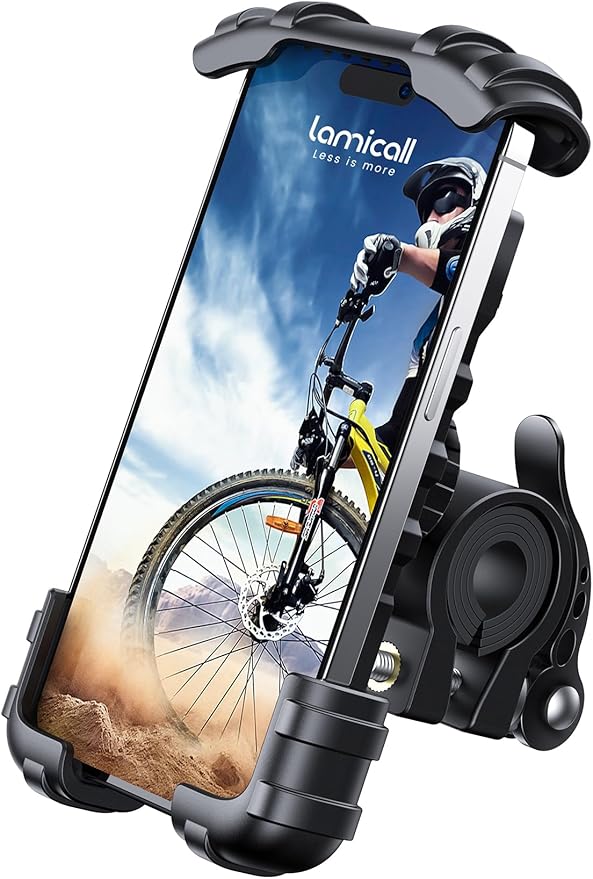
If you’re going to do the test ride immediately after, having your phone mounted on the bars makes confirming the speed readout much easier than squinting at a Kiox. The Lamicall Bike Phone Holder grips 4.7–7" phones securely on round handlebars and is one of the most reliable budget mounts for verifying live sensor data through the Bosch app.
Step-by-Step: Replace Bosch Performance Line CX Speed Sensor Magnet on Spoke
1. Power down and identify the sensor
Turn the bike off at the Kiox/Purion/Intuvia and remove the battery if you’re comfortable doing so — it eliminates any chance of the motor cycling during the work. Locate the speed sensor: on most Performance Line CX bikes it’s a small black plastic block bolted to the inside of the left chainstay or left seatstay, with a thin cable disappearing into the frame. The sensor’s detection face points outward, toward the spokes.
2. Remove the old magnet
Rotate the rear wheel until the existing magnet (or what’s left of it) is at the bottom, directly opposite the sensor. Loosen the 2.5 mm hex screw on the magnet’s clamp. The Bosch magnet uses a two-piece plastic clamp that splits open around the spoke — don’t force it; back the screw out and the halves separate. If the magnet is missing entirely, just pick the spoke you want to use.
3. Clean the spoke
Wipe the spoke with isopropyl alcohol. Any chain lube residue or dirt under the clamp will let the magnet creep along the spoke over time, gradually drifting out of alignment until the sensor stops reading it.
4. Position the new magnet
Slide the new Bosch magnet onto the spoke at roughly the same radial distance from the hub as the sensor sits from the dropout — typically 5–10 cm out from the hub. The magnet must pass directly under the sensor face, not inboard or outboard of it. Rotate the wheel by hand and eyeball the alignment first.
5. Set the air gap
This is the part most people get wrong. Bosch specifies a gap between the face of the magnet and the face of the sensor of 5–17 mm. Less than 5 mm and the magnet can strike the sensor over bumps; more than 17 mm and the signal becomes intermittent above ~30 km/h. The sweet spot is about 8–10 mm. Use a ruler or calipers — don’t guess.
6. Check that the faces are parallel
The flat face of the magnet should be parallel to the flat face of the sensor, not angled. Spokes are radial, so the natural angle of the spoke means you may need to rotate the magnet on the clamp slightly so its face squares up to the sensor at the moment it passes by. This single adjustment fixes more “new magnet still doesn’t work” complaints than anything else.
7. Torque the clamp
Tighten the 2.5 mm hex screw to roughly 0.8 Nm — about “firm finger-tight with a short Allen key.” Overtightening cracks the plastic clamp; undertightening lets the magnet slide.
8. Verify
Refit the battery, power on, and lift the rear wheel. Spin it by hand. The Kiox/Purion should show a speed reading within one revolution. If you’re using the eBike Flow app, the live data screen will display the rear-wheel speed in real time — useful for confirming consistency across multiple revolutions.
Quick Compatibility Table
| Bosch Drive Unit | Spoke Magnet Required? | Air Gap Spec | Bosch Part Number |
|---|---|---|---|
| Performance Line CX (Gen 2/3/4, 2016–2024) | Yes — spoke magnet on rear wheel | 5–17 mm | 1 270 016 819 |
| Performance Line CX Smart System (2022+) | Yes on most models; some use rotor-integrated sensor | 5–17 mm | 1 270 016 819 |
| Performance Line CX-Race | Yes | 5–17 mm | 1 270 016 819 |
| Active Line / Active Line Plus | Yes | 5–17 mm | 1 270 016 819 (same magnet) |
Recommended Accessories for the Job and the Test Ride
Lamicall Bike Phone Holder — for live Bosch eBike Flow verification
The fastest way to confirm a clean speed signal is to watch the live readout in the Bosch eBike Flow app while riding. The Lamicall mount sits on 22–32 mm handlebars, uses a silicone strap to keep the phone clamped against vibration, and accommodates cases up to 10 mm thick — enough for most rugged ebike commuter setups. Check current price on Amazon.
Roam Universal Bike Phone Holder with Waterproof Case
If your test rides happen in the rain (or your local trails are dusty enough that you don’t want your phone exposed), the Roam Universal pairs a stem/handlebar clamp with a sealed touchscreen-compatible case. Useful for ongoing post-repair monitoring of the assist behaviour over a long shakedown ride. View on Amazon.
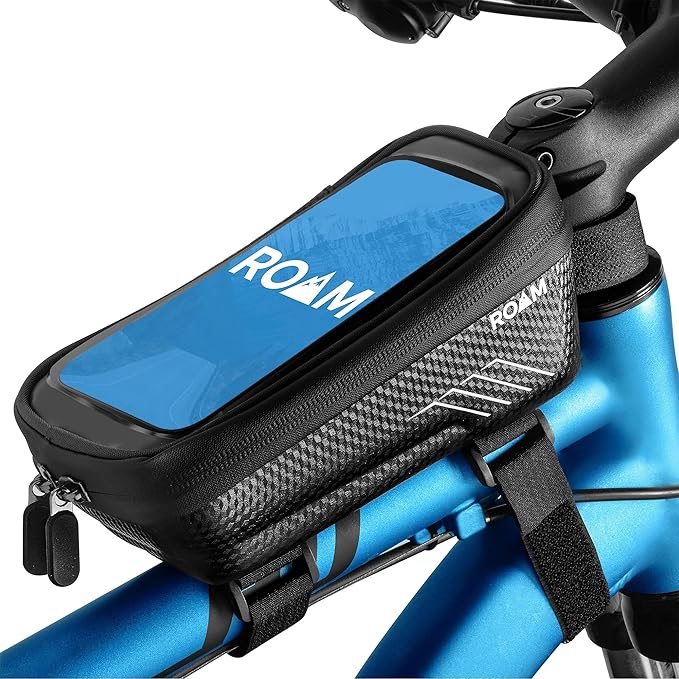
Lamicall Waterproof Bike Frame Bag (2-in-1)
A small top-tube bag is the easiest place to permanently stash the 2.5 mm hex key, a spare Bosch magnet, and a microfibre cloth so the next time the sensor goes quiet on a ride you can fix it at the trailhead in five minutes. The Lamicall 2-in-1 also has a top phone window so it doubles as your eBike Flow display. See it on Amazon.
Airmoto Portable Tire Inflator
Not directly related to the magnet, but if you’re flipping the bike upside down to work on the rear wheel, this is a good moment to top up tyre pressure before the verification ride. The Airmoto is a battery-powered mini compressor that reaches 120 PSI and shuts off automatically at the set pressure — small enough to live in a pannier. Check it on Amazon.
Troubleshooting: New Magnet Installed but Still No Speed Signal
If you’ve completed the steps above and the Kiox still shows 0 km/h or Error 503, work through these in order:
- Air gap too large. Re-measure. Anything beyond 17 mm at the closest pass is unreliable.
- Magnet face angled, not parallel. Loosen the clamp, rotate the magnet on the spoke so the face squares up to the sensor, and retighten.
- Aftermarket magnet with wrong polarity. The Bosch sensor is polarity-sensitive. Only use the OEM Bosch magnet — generic neodymium discs may work for a day and then drop out.
- Sensor cable damaged. Inspect the cable from the sensor to where it enters the frame. Rodent damage, pinch from a dropper post cable, or corrosion at the connector are all common.
- Sensor itself is dead. If a new magnet at perfect alignment still gives no reading, the speed sensor (Bosch part 1 270 020 914 or equivalent) needs replacement — typically a 15-minute job but requires routing a new cable through the frame.
- Firmware glitch. Pair the bike with eBike Flow and check for pending firmware updates. Rare, but a corrupted update has been known to disable speed input until reflashed.
For more in-depth ebike electrical diagnostics, see our guide to Bosch ebike error codes explained and our walkthrough on removing a rear wheel on a mid-drive ebike if you need to pull the wheel for spoke replacement first. If your sensor cable is the actual culprit, our Bosch speed sensor cable replacement guide covers the full swap.
Frequently Asked Questions
Can I use a regular neodymium magnet instead of the genuine Bosch spoke magnet?
Technically yes, and many riders have done it as a roadside fix, but the Bosch sensor expects a specific field strength and polarity. Generic round magnets often read intermittently above 25 km/h, throw Error 503 after a few rides, or cause the motor to cut assist on bumpy terrain. For a permanent fix, use Bosch part 1 270 016 819 — it’s under $15 and avoids hours of chasing phantom faults.
How far from the hub should the Bosch spoke magnet be mounted?
Position the magnet at the same radial distance from the hub centre as the sensor sits from the dropout — typically 5–10 cm out. The exact distance doesn’t matter as long as the magnet face passes directly across the sensor face on each rotation, with a 5–17 mm air gap.
Why does my Bosch Performance Line CX cut assist at exactly 6 km/h after a magnet replacement?
That’s walk-assist mode — the motor is no longer receiving any speed signal at all, so it thinks the bike isn’t moving and refuses to provide pedal assist beyond the walk threshold. Re-check the magnet alignment and air gap. Nine times out of ten the magnet face is angled relative to the sensor face rather than parallel.
Does the Bosch Smart System still use a spoke magnet in 2026?
On most 2026 Smart System builds, yes — the spoke magnet and chainstay-mounted sensor combination is still the standard. A small number of premium models (and the CX-Race in some configurations) use a rotor-integrated sensor that reads off the brake rotor bolts instead, in which case there is no spoke magnet to replace. Check your owner’s manual or the eBike Flow app’s component list.
What torque should I use on the Bosch spoke magnet clamp screw?
Approximately 0.8 Nm — effectively “firm finger-tight” with a short 2.5 mm Allen key. Don’t crank it down with a long T-handle; the clamp is plastic and will crack, after which the magnet will spin freely on the spoke.
Can a damaged spoke cause the speed sensor to fail?
Indirectly, yes. If the spoke is bent, the magnet wobbles past the sensor each revolution, varying the air gap. The sensor may register sporadically or not at all. If you’re replacing the magnet because of a rear-wheel impact, also check for spoke trueness — a wobble of more than ~2 mm at the magnet location is enough to cause intermittent readings.
How long should a Bosch speed sensor magnet last?
The magnet itself doesn’t wear out — it’s a permanent magnet, not an electrical component. Failures are almost always mechanical: impact, the retaining screw vibrating loose, or the plastic clamp cracking from over-tightening. With correct installation it should last the life of the bike. If yours has failed twice in a season, suspect the sensor itself or a frame-induced vibration rather than the magnet.
Key Takeaways
- Choosing the right replace bosch performance line cx speed sensor magnet means matching capacity and output ports to your actual devices
- Always check actual watt-hours (Wh), not just watts — runtime depends on Wh, not peak output
- Also covers: bosch cx spoke magnet replacement
- Also covers: bosch performance cx sensor fix
- Also covers: bosch ebike speed sensor error code
- Compare price-per-Wh across models to find the best value for your budget