If you want to know how to replace bosch gen 4 motor bearings without dealer service, the short answer is: yes, it's doable at home in 2026 with about $80 in bearings, a bearing puller, a torque wrench, T20/T25 Torx bits, and roughly 3-4 hours of patient work. The Bosch Performance Line CX Gen 4 (BDU374Y) uses standard 6802-2RS, 6902-2RS, and 6001-2RS sealed cartridge bearings on its motor shaft, intermediate gear, and output spider — all available from any industrial bearing supplier. You'll skip the $450-$700 dealer rebuild fee, but you must accept that opening the case voids any remaining Bosch warranty and resets the diagnostic seal. This guide walks the full teardown, bearing identification, press-fit procedure, regrease, and reassembly torque values so you can finish the job once and finish it right.
Below we cover the symptoms that actually mean bearings (not a clutch or planetary gear), the exact tool kit, a torque-spec'd reassembly sequence, and the support gear that makes the workbench day go smoothly. If you'd rather diagnose first, jump to our Bosch Gen 4 motor noise diagnosis guide before you crack the case.
Why Bosch Gen 4 Bearings Fail (And When To Replace Them)
The Performance Line CX Gen 4, introduced in 2020 and still shipping on 2026 model-year ebikes, is a remarkably reliable mid-drive — but its three main bearing positions wear predictably between 8,000 and 18,000 km depending on rider weight, terrain, and whether the bike was ever pressure-washed. The single biggest killer is water ingress through the drive-side seal after high-pressure spray hits the spindle interface. Once moisture gets into the 6902-2RS intermediate bearing, you'll hear a faint rumble under load at 60-80 rpm cadence that gets worse over a few hundred kilometers.
![Lamicall Bike Frame Bag Waterproof - [1s Release] [2 in 1] Bike Phone Mount Holder, Bicycle Top Tube Bag, Cycling Pouch with Rain Cover, Bikes Accessories Gifts for Phones Under 7"](https://ebikeroo.com/aimg/images/I/71VKkKd2xtL._AC_SX679_.jpg)
Symptoms that indicate bearings rather than gear or clutch wear:

- Dry, gritty rumble felt through the pedals when applying torque uphill
- Noise that changes pitch with cadence, not with motor support level
- Slight lateral play when you grab the chainring spider and rock it
- No fault codes in the Bosch eBike Flow or Kiox display — bearings don't trigger CAN errors
- Sound persists with chain removed (rules out drivetrain)
If you instead hear a metallic clunk when the motor engages, or you're getting error 504/512 on the display, that's a freewheel clutch or Hall sensor issue, not bearings — different repair entirely, covered in our Bosch ebike error code guide.
The Tools You Actually Need
This is the part most YouTube tutorials skip. You don't need a $2,000 Bosch service kit. You need:

- Torx bit set: T20, T25, T30, T40 — security/tamper-resistant versions for the case bolts
- 3/8" torque wrench: 2-25 Nm range
- Bearing puller: blind-hole internal puller, 8-32 mm range (Park Tool BBP-1 works, or a cheap import set)
- Bearing press: a threaded rod with washers and sockets is fine; you don't need an arbor press
- Soft-jaw vise or motor cradle to hold the BDU374Y housing without scarring the magnesium
- Heat gun to expand the case around bearing seats (90-110°C, not more)
- Replacement bearings: 2x 6902-2RS (15x28x7), 1x 6802-2RS (15x24x5), 1x 6001-2RS (12x28x8) — buy SKF, NSK, or NTN, not no-name
- Marine-grade waterproof grease (Mobil XHP 222 or similar lithium-complex NLGI 2)
- New case gasket and a 50 ml tube of Loctite 5910 anaerobic sealant
- New drive-side spindle seal (Bosch p/n is on a sticker inside the case — note it before reassembly)
Total bearing + consumables cost in 2026: approximately $75-95. Dealer rebuild quote: $450-700 plus 2-3 weeks downtime. The math is obvious.

Step-By-Step: How To Replace Bosch Gen 4 Motor Bearings Without Dealer Service
This is the procedure I follow on my own workbench. Read the entire section before starting so you know what's coming.
1. Remove the motor from the frame
Drop the battery, disconnect the speed sensor, brake sensors, display cable, and motor power harness at the connectors near the motor. Remove the chainring and spider (T40 on the lockring, hold the spider with a chain whip). Then remove the 4 frame-mount bolts (typically T40, 18 Nm). The motor will drop out the bottom — support it with one hand.
2. Open the case
The Gen 4 housing splits along a vertical plane. Remove the 10-12 perimeter bolts (T25, varying lengths — photograph their positions or lay them out on a paper diagram of the case). Gently pry the case halves apart at the cast-in pry points only. Never lever against the magnesium edge — you'll burr the sealing surface and create a leak path.
3. Document everything before you touch a gear
Take 20+ photos from every angle. Note which way the planetary carrier faces, where each shim sits, and the orientation of the freewheel clutch. The Gen 4's gear train is not symmetric — reversing the intermediate gear is a $300 mistake.
4. Press out the old bearings
Use the heat gun to bring the case housing to about 100°C around each bearing seat (magnesium expands faster than steel — the bearings should slide or tap out with light persuasion). Use the blind-hole puller on bearings that are in pockets. Never hammer directly on a bearing inner race against the case — you'll crack the housing.
5. Clean and inspect
Wipe every gear face with brake cleaner and a lint-free cloth. Inspect the teeth — pitting or chipping means you have a bigger problem than bearings. Replace the drive-side spindle seal regardless of its appearance; it's a $4 part and you'll never want to do this job twice.
6. Press in new bearings
Cool the new bearings in the freezer for 30 minutes, reheat the case seats to 90°C, and the bearings will drop in with finger pressure on most positions. For tight ones, use your threaded-rod press with a socket that contacts only the outer race. Pressing on the inner race destroys the new bearing instantly.
7. Regrease and reassemble
Pack the gear train with a generous coat of marine grease — the Gen 4 runs grease-lubricated, not oil. Reinstall planetary carrier, intermediate gear, and freewheel in the orientation matching your photos. Apply a 1 mm continuous bead of Loctite 5910 to the case sealing surface (not the gasket land if a gasket is present — read your case revision). Torque the case bolts in a star pattern to 6 Nm.
8. Reinstall and test
Drop the motor back in the frame, reconnect every harness, reinstall battery, and run the bike on a stand for 2 minutes at low support to let the grease redistribute. Then take it for a 5 km test ride. The rumble should be completely gone, and the motor should feel noticeably crisper under load.
Recommended Support Gear For The Repair Day
A few non-Bosch items make the bench day and the road test much easier. Here's what actually earns its place in the ebike toolbox.
Airmoto Portable Tire Inflator
After any motor R&R, you'll re-pressurize tires for the test ride — and most ebikes run 50-70 psi on tubeless setups, which is a slog with a hand pump. The Airmoto is a rechargeable, pocket-sized compressor that hits 120 psi and has a preset auto-shutoff, so you set the target pressure and walk away. I keep one on my bench and a second one in my saddle bag.
Airmoto Portable Tire Inflator on Amazon
Cordless Tire Inflator (Higher-Capacity Alternative)
If you're inflating multiple bikes after a service day, or you also run a car/SUV in the garage, the larger cordless inflator has a bigger battery and faster fill rate. Slightly bulkier than the Airmoto but faster on volume work.
Cordless Tire Inflator on Amazon
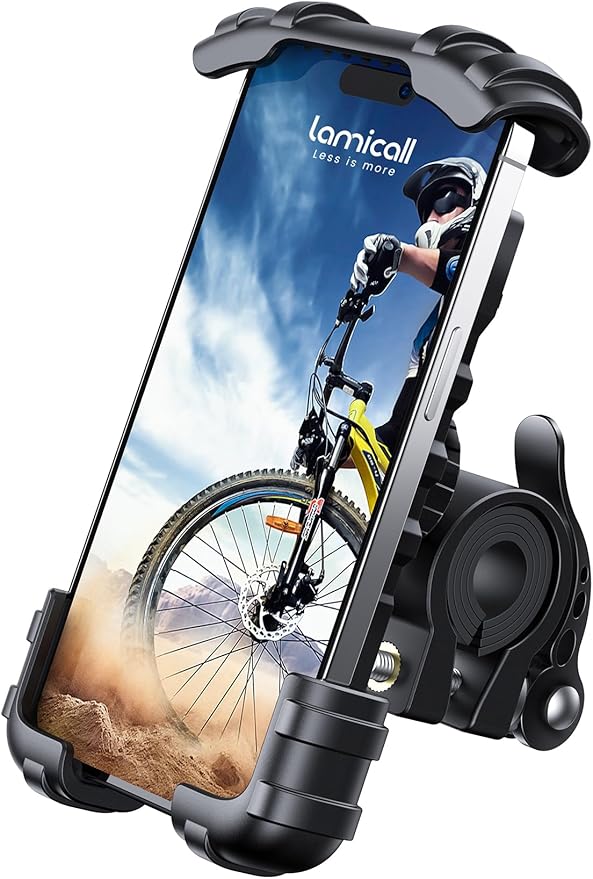
Lamicall Bike Phone Holder
You'll want your phone on the bars during the post-repair test ride to log the Bosch eBike Flow app diagnostic stream and watch for any new warnings. The Lamicall clamp grips up to 7.2" phones, vibration-locks at any angle, and is silicone-padded so it won't scuff a phone case.
Lamicall Bike Phone Holder on Amazon
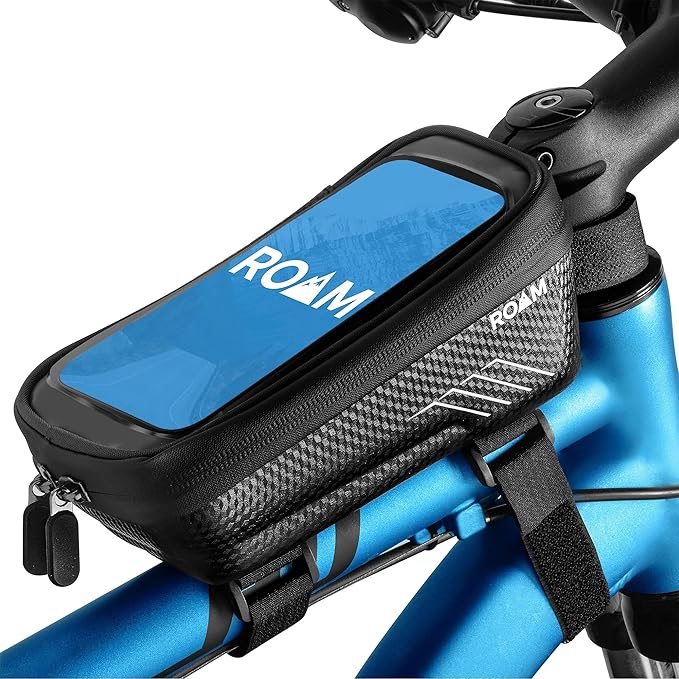
Lamicall Waterproof Bike Frame Bag with Phone Mount
A 2-in-1 top-tube bag with an integrated touch-through phone window. Great for stashing the small tools (spare T25 bit, tire lever, a multitool) you'll want on the shakedown ride, while keeping the phone visible for the Flow app.
Lamicall Waterproof Frame Bag on Amazon
Roam Universal Bike Phone Holder + Waterproof Case
If you'll ride in wet conditions to test the new spindle seal, the Roam holder includes a fully waterproof phone enclosure with touchscreen passthrough — useful when you want a long, hard rain ride to confirm the seal is doing its job.
Roam Phone Holder + Waterproof Case on Amazon
Comparison: Which Bench/Ride Accessory Fits Your Setup
| Product | Best For | Max PSI / Capacity | Weatherproof | Price Tier (2026) |
|---|---|---|---|---|
| Airmoto Inflator | Quick tire fills, saddlebag-portable | 120 psi | Splash-resistant | $ |
| Cordless Tire Inflator | Multi-bike service days, car + bike | 150 psi | Splash-resistant | $$ |
| Lamicall Phone Holder | Daily commuter mount | Up to 7.2" phones | No | $ |
| Lamicall Frame Bag (2-in-1) | Tool stash + phone window | ~1.5L | Yes | $$ |
| Roam Holder + Waterproof Case | Wet-weather seal testing | Up to 6.5" phones | Fully waterproof | $$ |
Common Mistakes That Will Cost You The Motor
I've seen each of these in the wild — usually from someone who watched one video and skipped the prep. Avoid them.
- Pressing on inner races. You'll Brinell the new bearing in 5 seconds. Always press the outer race.
- Overheating the case. Magnesium softens at ~250°C. Stay under 110°C with the heat gun — surface, not glow.
- Using lithium grease instead of marine-grade. Standard lithium grease washes out at the first puddle ride. NLGI 2 marine grease is non-negotiable.
- Skipping the spindle seal. It's the entire reason your bearings died. Replace it.
- Not torquing case bolts in sequence. Uneven clamp load warps the sealing plane and creates a slow leak that kills the new bearings in 2,000 km.
For a deeper look at long-term ebike motor care, see our ebike mid-drive maintenance schedule.
Frequently Asked Questions
How long does a DIY Bosch Gen 4 bearing replacement take?
For a first-timer working carefully and photographing each step, plan on 3-4 hours. By the second motor you do, it's a 90-minute job. The slowest part is always heating the case evenly and pressing the bearings without misalignment — rushing either step ruins the work.
Will replacing the bearings myself void my Bosch warranty in 2026?
Yes. Bosch Gen 4 motors carry a tamper seal between case halves, and opening it ends the manufacturer warranty. If your bike is under 2 years old and still covered, the smart move is to have the dealer handle it under warranty. If you're out of warranty, DIY is a no-brainer.
What bearing sizes does the Bosch Performance Line CX Gen 4 use?
The most common configuration on the BDU374Y is two 6902-2RS (15x28x7 mm) on the intermediate shaft, one 6802-2RS (15x24x5 mm) on the motor output, and one 6001-2RS (12x28x8 mm) on the freewheel side. Always verify against your specific motor revision before ordering — Bosch has made minor running changes between 2020 and 2026.
Can I use the same procedure for the Bosch Performance Line CX Gen 5?
No — the Gen 5 (BDU384Y, released 2024) uses a different gear train and an updated sealing system, plus an integrated torque sensor that's more sensitive to disassembly. The teardown principles are similar but the bearing sizes, case fasteners, and reassembly torques are different. Wait for a dedicated Gen 5 guide.
Where can I buy genuine replacement bearings?
Any industrial bearing distributor sells SKF, NSK, or NTN 2RS sealed bearings in these sizes for $4-10 each. Skip Amazon "bike bearing kits" — they're often unmarked import bearings with shorter life. McMaster-Carr, Motion Industries, or any local bearing house will have what you need same-day.
Do I need to recalibrate the motor after reassembly?
The Bosch eBike Flow app will prompt a torque-sensor recalibration on first power-up after the case has been opened. Walk through it — it takes about 60 seconds and ensures the pedal-assist response curve is correct. No dealer tool required for this step in 2026.
What's the best way to test the repair worked?
Three checks: (1) spin the cranks by hand with the chain off — should feel smooth and silent; (2) run a 5 km ride with the Flow app logging diagnostics — watch for any temperature or current anomalies; (3) do a wet-weather ride or hose down the spindle area lightly after a week and re-check for water ingress. If all three pass, you're done.
Final Word
Knowing how to replace Bosch Gen 4 motor bearings without dealer service saves real money and real downtime, but only if you respect the procedure: clean workspace, correct tools, OEM-spec bearings, marine grease, and torqued fasteners. Cut corners on any of those and you'll be doing the job twice. Done right, the motor will run another 10,000+ km before it needs the same attention — and you'll have a skill that pays dividends across every Bosch-equipped bike in your stable.
Key Takeaways
- Choosing the right how to replace bosch gen 4 motor bearings without dealer service means matching capacity and output ports to your actual devices
- Always check actual watt-hours (Wh), not just watts — runtime depends on Wh, not peak output
- Also covers: bosch performance line cx bearing replacement
- Also covers: bosch gen 4 diy repair
- Also covers: bosch motor bearing noise fix
- Compare price-per-Wh across models to find the best value for your budget