If your Shimano Steps EP8 motor suddenly spins with no drive, makes a loud clack on engagement, or freewheels in both directions, you almost certainly have a failed internal sprag/pawl clutch. The good news: you can rebuild shimano ep8 clutch pawl freewheel assemblies at home with a clean bench, a few specialty tools, and patience. This 2026 walkthrough covers how to diagnose the failure, split the case safely, swap the pawl ring and sprag cage, reset the preload, and torque the cover back to spec without damaging the magnesium housing. By the end you'll have a usable EP8 again for roughly the price of a brake service.
Why the EP8 Clutch Pawl Fails
The EP8 (and the SC variant) uses a one-way roller clutch behind the chainring spider that decouples the motor when you're coasting or pedaling above 25 km/h. When it fails, the sprag rollers lose their spring tension or the hardened race spalls, and the chainring spins freely while the cranks turn. Common triggers include water ingress through a tired drive-side seal, sustained high-torque climbing in Boost mode, contaminated factory grease, and shock loads from rear-wheel lockups. Riders on 2021–2023 firmware tend to see it earlier because the torque ramp was more aggressive before Shimano softened it in the E8050 4.9.x update.
When shopping for rebuild shimano ep8 clutch pawl freewheel, it pays to compare specs, capacity, and real-world runtime before committing.
![Lamicall Bike Frame Bag Waterproof - [1s Release] [2 in 1] Bike Phone Mount Holder, Bicycle Top Tube Bag, Cycling Pouch with Rain Cover, Bikes Accessories Gifts for Phones Under 7"](https://ebikeroo.com/aimg/images/I/71VKkKd2xtL._AC_SX679_.jpg)
Symptoms That Point to the Pawl, Not the Motor
- Cranks turn but the chainring barely moves under load, then suddenly grabs.
- A grinding or ratcheting sound from the drive side when you back-pedal.
- No error code on the display — the motor electronics still work, the mechanical clutch is the failure.
- Drive engagement only after several degrees of rotation (the classic "dead spot").
- Metallic paste on the drive-side seal when you pop the dust cover.
If you see a W013 or E010 code instead, stop — that's a sensor or harness fault, not a pawl problem, and the rebuild won't help. For sensor faults, see our EP8 error code reference first.
Tools and Parts You'll Need to Rebuild Shimano EP8 Clutch Pawl Freewheel Assemblies
Shimano does not officially sell the internal clutch as a service part in North America, but the SM-CRE80 chainring lockring tool, a TL-FC36 bottom bracket socket, and a generic 2.5/3/4 mm hex set will get you in. Aftermarket pawl kits from EU rebuild specialists (search "EP8 sprag kit") run about $90–$140 and include the roller cage, two springs, and a fresh seal.
- TL-FC39 or SM-CRE80 lockring tool
- Torx T25 and T30 for the motor cover bolts
- Plastic tire lever or nylon pry (never a flat screwdriver — the magnesium dents)
- Shimano premium grease or Mobilgrease XHP 222
- Loctite 243 (blue) for the cover screws
- Inch-pound torque wrench (0–80 in-lb range)
- Isopropyl alcohol and lint-free rags
- A magnetic parts tray — the sprag rollers are tiny and love to roll under benches
Step 1: Drop the Motor and Open the Drive Side
Remove the battery, pedals, crank arms, and chainring. Loosen the four M5 motor mount bolts and lower the unit onto a soft block — you do not need to fully extract the motor from the frame for this job, just rotate it nose-down so the drive side faces you. Pop the rubber dust cap on the drive side and use the SM-CRE80 to unthread the lockring counter-clockwise. Behind it sits the chainring spider with the pawl/sprag assembly pressed into the back. Mark the orientation with a paint pen before you lift anything off; the spider is keyed but the wave washer behind it is not.
Step 2: Inspect the Sprag Cage and Pawl Ring
Lay the spider face-down on a clean rag. The sprag cage is a thin steel ring with 12 to 16 angled rollers held against a garter spring. Look for:
- Flat spots or bluing on the rollers (heat damage from overload)
- A broken or stretched garter spring
- Brinelling on the inner race (small dimples in a ring pattern)
- Black, gritty grease — sign that water mixed with the factory pack
If any of these are present, replace the entire cage as a unit. Do not try to re-spring individual rollers; the preload tolerance is too tight to eyeball and you will eat the new race in 200 km.
Step 3: Press Out the Old Race
The inner race is a light press fit into the spider. Support the spider on two parallel blocks with the race facing down, and use a 24 mm socket as a drift to tap it out with a dead-blow hammer. Three or four firm taps is usually enough. If it fights you, warm the spider with a heat gun to 80°C — the aluminum expands faster than the steel and the race drops free. Never use an open flame near the motor body.
Step 4: Install the New Pawl Kit
Wipe the spider bore with isopropyl. Lightly grease the new race with Shimano premium grease (not lithium white — it dries out and squeaks). Press the new race in with the same socket and a bench vise; you want it flush within 0.1 mm of the shoulder. Drop the new sprag cage in with the angled rollers pointing in the drive direction — there is usually an arrow stamped on the cage. Spin the spider by hand: it should lock one way and rotate freely the other. If it slips in both directions, the cage is flipped; pull it and reinstall.
Step 5: Reassemble and Torque
Refit the wave washer in its original orientation, set the spider onto the motor output shaft, and thread the lockring on by hand to make sure it isn't cross-threaded. Torque to 40 Nm (about 30 ft-lb) — Shimano spec. A dab of blue Loctite on the motor cover bolts goes a long way. Refit the dust cap, reinstall the motor in the frame at 6 Nm on the mounts, and reattach the chainring and cranks at their stock specs (12–14 Nm for the crank bolt).
Step 6: Bench Test Before You Ride
Power the bike on, put it in Walk mode, and watch the chainring engage smoothly. Pedal backward by hand — you should feel light, even drag, not ratcheting. Take it for a 5–10 minute flat ride in Eco before loading it in Boost on a climb. If engagement is clean and quiet after 20 km, you're done.
Trailside and Workshop Gear Worth Having
A clutch rebuild is a planned bench job, but EP8 owners who push their bikes hard end up doing a lot of mid-ride mechanical checks. A few items make both the rebuild and the post-rebuild shakedown rides easier.
| Product | Best For | Why It Helps With EP8 Service |
|---|---|---|
| Lamicall Waterproof Bike Frame Bag (2-in-1) | Carrying spare tools and parts | Holds hex keys, a spare lockring, and grease packets on shakedown rides |
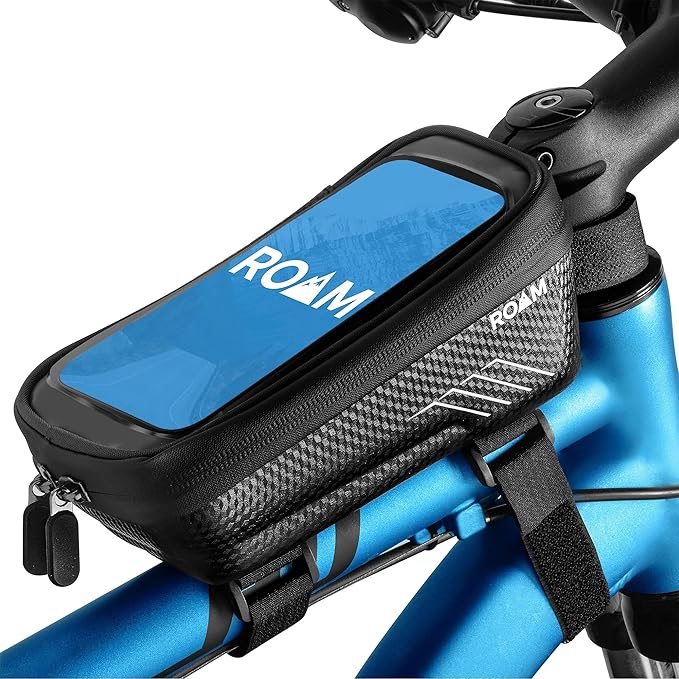
| Roam Universal Bike Phone Holder + Waterproof Case | Following torque specs trailside | Keeps service PDFs and YouTube walkthroughs visible while you work |
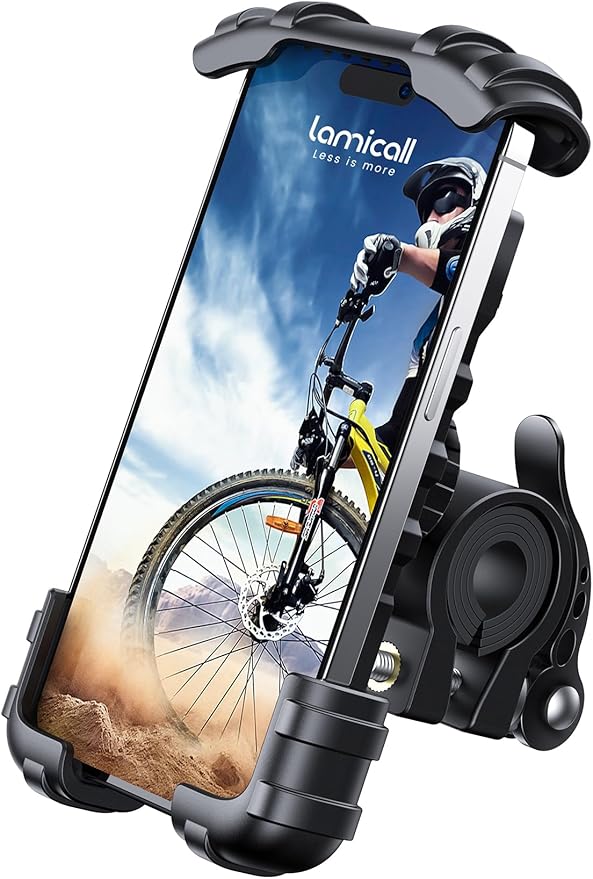
| Lamicall Bike Phone Holder | Workshop and commute use | Lightweight mount for referencing diagrams at the bench |
| Airmoto Portable Tire Inflator | Post-service tire checks | Quickly resets tubeless pressure after motor R&R disturbs the bike |
| Cordless Tire Inflator Air Compressor | Garage and trailhead | Higher volume for seating tubeless beads after a teardown |
Lamicall Waterproof Bike Frame Bag with Phone Mount (2-in-1)
After a clutch rebuild you'll want to do several short test rides at increasing power levels before trusting the bike on a real loop. The Lamicall 2-in-1 frame bag stashes a small torque wrench, your lockring tool, and a grease packet so you can re-check the chainring lockring after the first 10 km without driving home. The top phone window also lets you keep the Shimano E-TUBE app open to confirm no new error codes pop up. View on Amazon
Roam Universal Bike Phone Holder + Waterproof Storage Case
Rebuilding the EP8 clutch is one of those jobs where you'll pause the video 40 times. The Roam mount holds nearly any phone, and the waterproof case version is handy if your workshop is a damp garage or you're doing the job at a trailhead after a failure mid-ride. The clamp survives gravel chatter on the shakedown ride too. View on Amazon
Lamicall Bike Phone Holder
If you don't need the storage case, the standalone Lamicall mount is the simpler pick for keeping torque spec sheets and exploded diagrams visible while you work. It's also light enough to leave on the bike permanently after the rebuild. View on Amazon
Airmoto Portable Tire Inflator
You'll likely drop a wheel during motor removal. The Airmoto resets tire pressure precisely to your preferred PSI without overshooting and burping the bead — important if you run tubeless on a heavy EP8 build. It also fits inside the frame bag for the test rides. View on Amazon
Cordless Tire Inflator Air Compressor Pump
If you yanked the rear wheel and lost the tubeless seal during the rebuild, a higher-volume cordless compressor will reseat the bead far more reliably than a hand pump. Keep it on the workshop shelf next to your grease and Loctite. View on Amazon
Common Mistakes That Kill a Fresh Rebuild
The number one reason a freshly rebuilt EP8 clutch fails again within a month is over-greasing. The sprag rollers need a light film, not a packed cavity — too much grease and the rollers hydroplane on engagement and skip. Number two is reusing the drive-side seal; a new pawl behind a tired seal will be drowned by the first wet ride. Number three is skipping the wave washer or installing it backwards, which removes the preload that keeps the rollers in contact with the race. Take your time on these three points and the rebuild will last as long as the original.
For more on keeping your motor healthy between services, our EP8 maintenance schedule and ebike drivetrain cleaning guide cover the small habits that double clutch life.
Frequently Asked Questions
Can I rebuild an EP8 clutch without removing the motor from the frame?
You can do the entire pawl swap with the motor still bolted in, but you must rotate the bike so the drive side faces up and have a way to support the frame on a stand. Most home mechanics find it easier to drop the four mount bolts and slide the motor down onto a soft block — it gives you a flat surface to press the new race and reduces the chance of dropping a sprag roller into the bottom bracket shell.
How long should a rebuilt EP8 pawl clutch last?
With proper grease, a new seal, and normal trail use, a quality aftermarket sprag kit will run 8,000–12,000 km. Heavy riders who live in Boost mode on steep climbs see closer to 5,000 km. If you re-grease the drive-side seal every 1,500 km you can push the upper end significantly.

Is the EP801 clutch the same as the original EP8?
The 2024-onward EP801 uses a revised sprag cage with slightly stiffer roller springs and a thicker race. The bores are identical, so an EP801 kit will drop into an EP8 spider and is generally considered the better long-term replacement. Confirm the part number with the rebuild specialist before ordering.
What torque does the EP8 chainring lockring need?
Shimano specifies 40 Nm (about 30 ft-lb) on the SM-CRE80 lockring. Under-torquing it lets the spider move under load and chews the splines. Over-torquing it can crack the magnesium boss. A click-style torque wrench is worth the $35.
Will Shimano warranty an EP8 with a failed clutch?
If the motor is inside the two-year warranty window and you have proof of purchase from an authorized dealer, yes — they will replace the entire motor, not just the clutch. Outside warranty, Shimano North America generally doesn't offer the clutch as a service part, which is why aftermarket rebuild kits exist.
Can a failed clutch damage other parts of the EP8?
A slipping clutch under high torque can shock-load the gear train and, in rare cases, chip a tooth on the primary reduction gear. If you hear any new noise after the rebuild, pull the cover and inspect the gears before you ride hard. A clean tooth profile means you caught it in time.
How much does a professional EP8 clutch rebuild cost in 2026?
Independent ebike shops in North America charge $250–$400 for the rebuild including parts. Doing it yourself with a quality aftermarket kit runs $90–$140 in parts plus about three hours of bench time. The break-even point is one rebuild — after that, the tools pay for themselves.
Key Takeaways
- Choosing the right rebuild shimano ep8 clutch pawl freewheel means matching capacity and output ports to your actual devices
- Always check actual watt-hours (Wh), not just watts — runtime depends on Wh, not peak output
- Also covers: shimano ep8 freewheel failure fix
- Also covers: ep8 internal clutch repair guide
- Also covers: shimano steps motor pawl replacement
- Compare price-per-Wh across models to find the best value for your budget