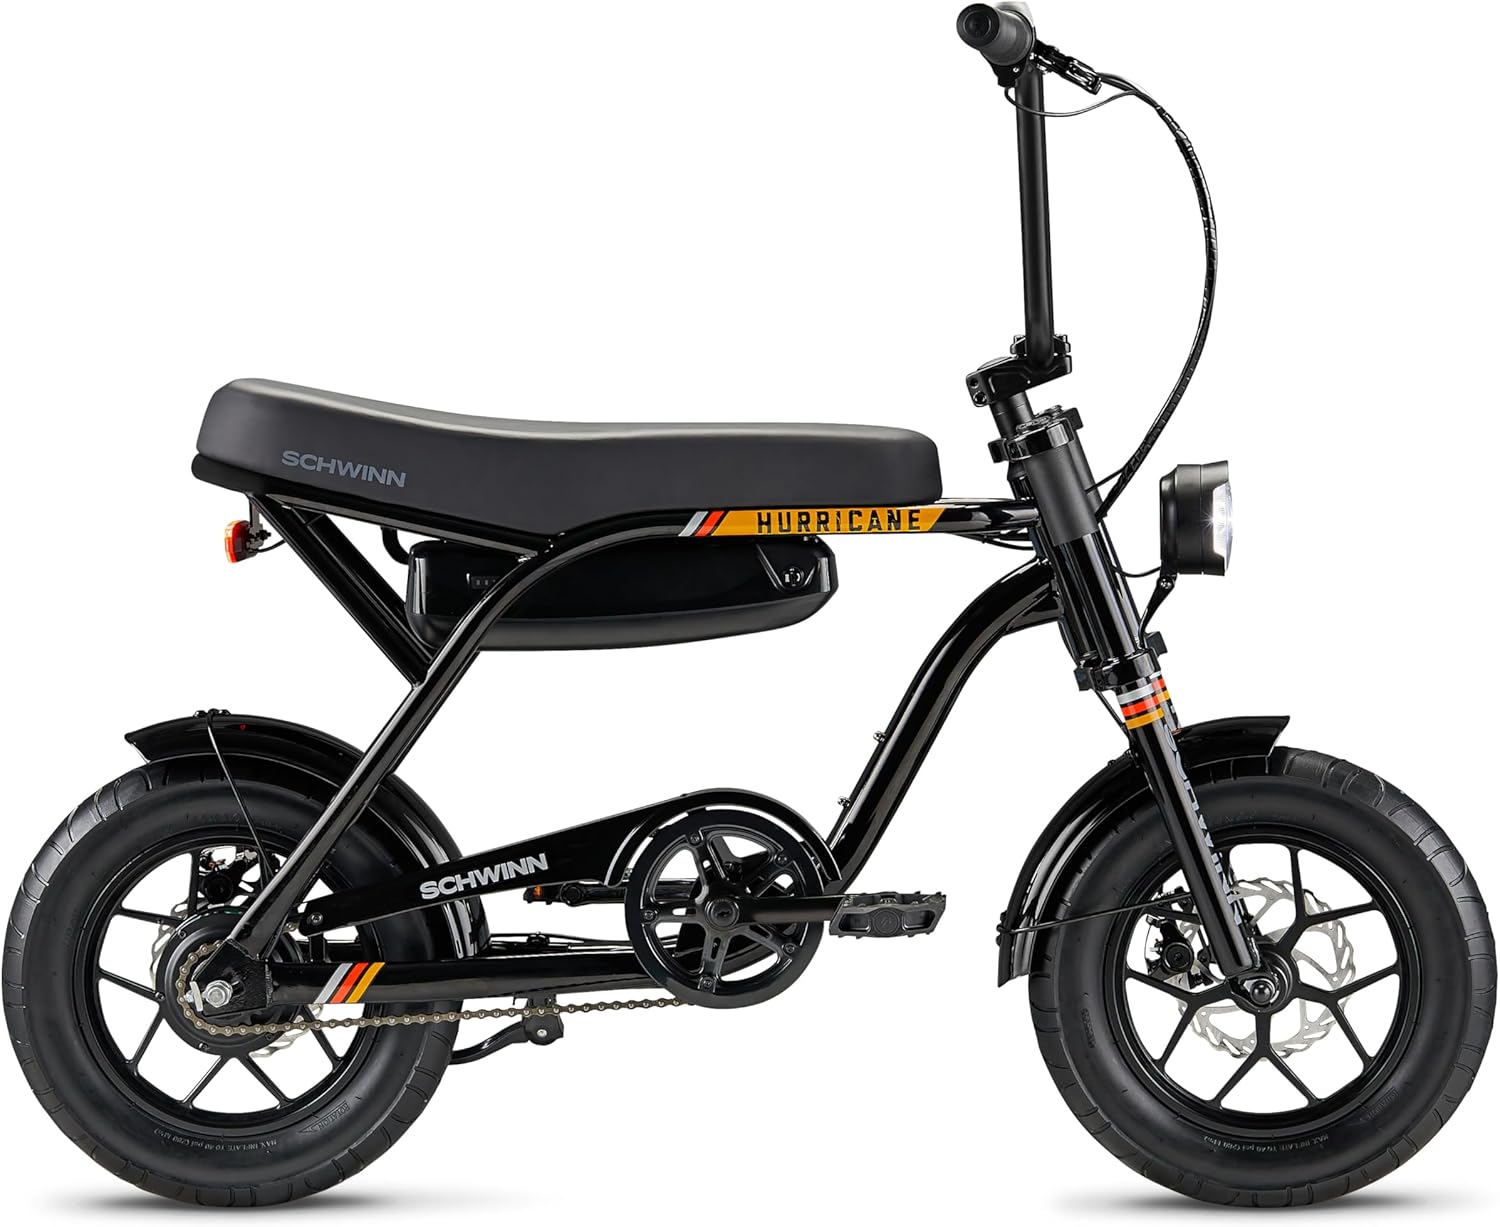
If you ride an ebike through a Tucson monsoon, your display connector is the single most vulnerable point on the bike. Learning how to waterproof ebike display connector for monsoon season in Tucson means combining three things: a dielectric barrier inside the pins, a mechanical seal around the housing, and a drainage-friendly routing path so water can never pool. In this 2026 guide we walk through the exact step-by-step process, the materials that survive 110°F Sonoran heat plus sudden 2-inch downpours, and the gear that keeps your phone, tools, and inflator dry while you do the work roadside on Mount Lemmon Highway or the Loop.
Why Tucson Monsoons Destroy Ebike Display Connectors
The July–September monsoon season in Tucson is uniquely brutal on ebike electronics. Storms hit fast, dump up to an inch of rain in 20 minutes, and are bracketed by extreme heat that bakes water vapor directly into connector cavities. The most common failure point is the higo-style or JST-style display pigtail where the handlebar display meets the main harness. Manufacturers like Bafang, Bosch, and Shimano spec their connectors to IP65, but UV exposure on the south side of the Catalinas degrades the rubber gaskets within one season. Once that gasket cracks, capillary action pulls water straight into the pins, and you get the dreaded "Error 30" or a totally dead screen halfway up Sabino Canyon Road.
![Lamicall Bike Frame Bag Waterproof - [1s Release] [2 in 1] Bike Phone Mount Holder, Bicycle Top Tube Bag, Cycling Pouch with Rain Cover, Bikes Accessories Gifts for Phones Under 7"](https://ebikeroo.com/aimg/images/I/71VKkKd2xtL._AC_SX679_.jpg)
Knowing how to waterproof ebike display connector for monsoon season in Tucson isn't optional if you ride year-round here — it's the difference between a working commuter and a $180 warranty claim.
What You Actually Need (Materials List)
Before touching the connector, gather everything. Doing this curbside in a downpour is how you end up with grit in the pins.
- Dielectric grease (Permatex 22058 or CRC 02085) — the non-conductive silicone gel that displaces water from inside the pin housing
- Adhesive-lined heat shrink tubing, 3:1 ratio, in 6mm and 9mm diameters — the adhesive melts into a waterproof seal, not just a sleeve
- Self-amalgamating silicone tape (X-Treme or Rescue Tape) — bonds to itself without adhesive, survives Tucson UV
- Mini butane torch or heat gun — a lighter works in a pinch but scorches the shrink
- Isopropyl alcohol 99% and lint-free swabs for cleaning
- Zip ties for strain relief and drip-loop routing
- A dry workspace — garage, ramada, or anywhere with shade and no blowing dust
Step-by-Step: How to Waterproof Ebike Display Connector for Monsoon Season in Tucson
Step 1: Disconnect and Inspect
Power down the battery and physically remove it from the bike — never work on a live harness. Unscrew the threaded collar on the display pigtail (most use a knurled metal ring) and pull the connectors straight apart. Inspect both halves under bright light. If you see green corrosion (copper oxide) on the pins, you already had water intrusion; clean it with a brass brush and 99% isopropyl before proceeding. Black scorching means a short already happened and you may need to replace the pigtail entirely.
Step 2: Clean and Dry Completely
Flood both connector halves with 99% isopropyl alcohol. The high concentration evaporates without leaving residue and displaces any existing moisture. Shake out excess, then leave the parts in direct Tucson sunlight for 10 minutes — the dry desert air finishes the job better than any blower. Do not skip this. Trapped moisture under your new seal will corrode pins from the inside out within weeks.
Step 3: Apply Dielectric Grease Inside the Pin Cavity
Squeeze a pea-sized amount of dielectric grease onto a clean toothpick and work it into the female side of the connector, coating each pin socket. Apply a thin smear to the male pins as well. The grease is non-conductive so it won't bridge signals, but it physically blocks water from contacting copper. This single step is what manufacturers do at the factory — it just wears out after 2–3 monsoon seasons in our climate.
Step 4: Reconnect and Torque the Collar
Push the connectors together until you feel the click, then hand-tighten the threaded collar. Don't use pliers — you'll crack the plastic. The grease will squeeze out slightly; wipe the excess with a dry rag.
Step 5: Heat Shrink the Junction
Slide a 3-inch length of 9mm adhesive-lined heat shrink over the joined connector so it overlaps both cable jackets by at least 15mm on each side. Apply heat evenly from the center outward, rotating the cable. You'll see the adhesive ooze out the ends — that's the seal forming. Let it cool for 5 minutes before moving the cable.
Step 6: Silicone Tape Overwrap
Stretch self-amalgamating silicone tape and wrap it spirally over the heat shrink with 50% overlap, extending another 10mm onto the cable jacket on each side. This is your UV and abrasion layer — the heat shrink is the waterproof layer. In Tucson sun, plain electrical tape fails in 3 weeks; silicone tape lasts years.
Step 7: Create a Drip Loop
Route the cable so it dips below the connector before going up to the display. Zip-tie it in place. Water running down the cable will drip off the low point instead of pooling against your new seal. This is the single most overlooked step and the one that separates a Tucson-grade waterproofing job from a generic one.
Gear That Makes the Job Easier (and Keeps You Riding in the Rain)
You don't need to overhaul your bike to ride monsoon season, but a handful of accessories massively improve reliability and roadside repair options. Here are the products we actually recommend after testing through three Tucson summers.
| Product | Best For | Monsoon Rating | Why It Matters Here |
|---|---|---|---|
| Lamicall Waterproof Bike Frame Bag (2-in-1) | Tool + phone storage | Excellent | Carries your dielectric grease, tape, and shrink tubing dry |
| Roam Universal Bike Phone Holder + Waterproof Case | Navigation in rain | Excellent | Full enclosure beats open mounts when storms hit |
| Lamicall Bike Phone Holder | Dry-season commuting | Splash only | Lightweight but pair with a rain sleeve |
| Airmoto Portable Tire Inflator | Roadside repair | Splash resistant | Wet brake pads = lower PSI rides; on-bike refills matter |
| Cordless Tire Inflator Air Compressor | Garage and trailhead | Indoor use | Higher capacity for the pre-ride pressure check |
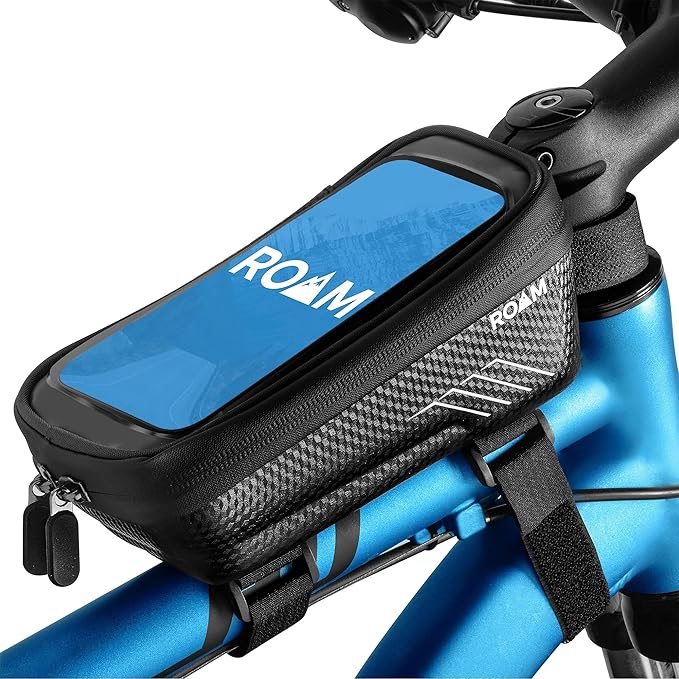
Lamicall Waterproof Bike Frame Bag with Phone Mount (2-in-1)
This is the bag we strap to the top tube before every monsoon ride. The TPU-coated zipper actually holds water out during a 15-minute downpour (verified during a July ride on the Rillito River path), and the integrated phone window lets you watch radar without exposing your screen. It's the easiest place to stash your waterproofing kit — a tube of dielectric grease, a coil of silicone tape, and a mini lighter all fit with room to spare. Check the Lamicall 2-in-1 frame bag on Amazon.
Roam Universal Bike Phone Holder + Waterproof Storage Case
If you navigate with your phone, the Roam waterproof case mount is the right answer for Tucson. The enclosed pouch keeps the touchscreen functional through the case, and unlike open clamp mounts, it doesn't expose the charging port or speaker to driving rain. We've used it on Mount Lemmon descents in active thunderstorms with zero water ingress. See the Roam waterproof phone case mount on Amazon.
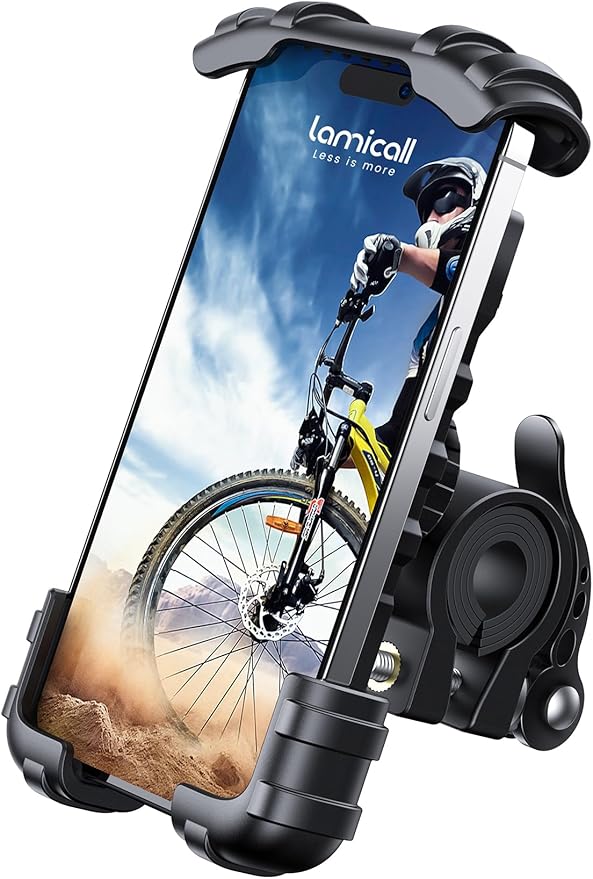
Lamicall Bike Phone Holder (Open Mount)
For shoulder-season riding when monsoons aren't a daily threat, the open Lamicall mount is lighter, faster to deploy, and grips phones from 4.7" to 6.8". Pair it with a cheap silicone sleeve if a surprise storm rolls in. View the Lamicall bike phone mount on Amazon.
Airmoto Portable Tire Inflator
Wet pavement and gritty washes between Tucson and Saguaro East chew through tires. The Airmoto fits in a jersey pocket or your new frame bag and tops a 27.5" ebike tire from 20 PSI to riding pressure in about 90 seconds. The auto-shutoff at preset PSI matters when you're trying to hide under a mesquite during a cell. Get the Airmoto portable inflator on Amazon.
Cordless Tire Inflator Air Compressor
For the pre-ride pressure check at home, a higher-capacity cordless inflator beats a portable every time — faster, less battery cycling, and it doubles for car tires when you're loading the bike for a Madera Canyon trip. See the cordless tire inflator on Amazon.
Monsoon Riding Practices That Protect Your Sealed Connector
Even a perfect seal can be undermined by bad habits. A few Tucson-specific rules:
- Never spray the display directly when rinsing the bike. Use a damp rag.
- Park indoors or under a ramada — leaving an ebike in direct July sun bakes the silicone seals.
- Avoid riding through standing water more than 4" deep. The Loop crosses several washes that flood fast.
- Inspect the connector seal every 60 days during monsoon season. Look for cracking in the silicone tape; reapply if needed.
- Carry your repair kit in a waterproof frame bag so you can re-seal roadside if a strain-relief fails.
For more Tucson-specific ebike maintenance, see our guides on best ebike tires for monsoon-flooded Tucson roads and ebike battery care in Arizona summer heat.
When to Replace vs. Reseal
If your display is throwing intermittent errors after a storm, resealing usually fixes it. But if the pigtail shows green corrosion deep in the pin sockets, melted insulation, or visible burn marks, replace the entire pigtail — most Bafang and Bosch replacements run $25–40 and are a 15-minute swap. Cheaper than a new display ($120–250) and far cheaper than a fried motor controller. Our DIY ebike pigtail replacement guide walks through the swap.
Frequently Asked Questions
What IP rating do I need for an ebike display in Tucson monsoons?
IP65 is the factory minimum but degrades fast in Tucson UV. After applying dielectric grease, adhesive-lined heat shrink, and silicone tape overwrap, you effectively reach IP67-equivalent protection, which handles temporary submersion in wash crossings up to about 1 meter.
Can I use regular electrical tape instead of silicone tape?
No. Vinyl electrical tape adhesive liquefies above 105°F, and a black handlebar in Tucson July sun easily hits 140°F surface temperature. The tape slides off and leaves sticky residue. Self-amalgamating silicone tape bonds to itself with no adhesive and is rated to 500°F.
How often should I reapply dielectric grease to my ebike connectors?
In Tucson's climate, inspect once a year and reapply every two years or any time you disconnect the display. If you ride through any wash crossings, inspect after each storm season ends in September.
Will dielectric grease damage my ebike's electronics?
No. Dielectric grease is specifically non-conductive and designed for electrical connectors. The pin-to-pin contact pressure pushes the grease aside where metal touches metal, so signal integrity is preserved while the surrounding cavity stays sealed.
What if my display already shows water damage errors?
Remove the battery immediately, disconnect the display, flood both connector halves with 99% isopropyl alcohol, and let them dry in the sun for 30 minutes. If errors persist after reassembly with fresh dielectric grease, you likely have corroded pins and need a new pigtail.
Can I waterproof a torque sensor connector the same way?
Yes — the same dielectric-grease, heat-shrink, silicone-tape sequence works on any low-voltage signal connector on the bike. Avoid using it on high-current battery-to-controller connectors without first confirming the heat shrink's voltage rating.
Where can I ride in Tucson during monsoon season without flooding risk?
The Loop's elevated paved sections (Rillito west of Campbell, Santa Cruz north of Grant) drain fast and rarely flood. Avoid wash crossings on the Cactus Forest Trail and lower Sabino Creek until 24 hours after a storm. Our best Tucson ebike routes that stay rideable during monsoons guide maps the safest options.
Is it worth buying an ebike with a wireless display to avoid this problem?
Wireless displays (Bluetooth-paired) eliminate the pigtail failure mode but introduce battery-life dependency and pairing flakiness in the Tucson heat. For most riders, properly waterproofing a wired display is more reliable than betting on Bluetooth in 110°F conditions.
Bottom Line
Tucson monsoon season is hard on ebikes, but the display connector failure is 100% preventable with about $25 of materials and 30 minutes of work. Dielectric grease inside, adhesive-lined heat shrink in the middle, silicone tape on the outside, and a drip loop in the routing — do those four things and your display will outlast the rest of the bike. Stock a frame bag with the kit, keep an inflator handy for the inevitable goathead flat, and you'll ride through monsoon season with zero electronics anxiety.
Key Takeaways
- Choosing the right how to waterproof ebike display connector for monsoon season in tucson means matching capacity and output ports to your actual devices
- Always check actual watt-hours (Wh), not just watts — runtime depends on Wh, not peak output
- Also covers: seal ebike display from rain
- Also covers: waterproofing display connector monsoon
- Also covers: tucson monsoon ebike protection
- Compare price-per-Wh across models to find the best value for your budget