To retrofit regenerative braking on a direct drive hub motor ebike, you need four things: a direct drive (gearless) hub motor (geared motors physically can't regen because of their internal freewheel), a controller with regen support (sine-wave, FOC-capable units like the Phaserunner, Grin Baserunner, or KT-LCD-compatible regen controllers), a battery that can safely accept charge current (lithium-ion with a BMS that allows charging at the regen amperage), and brake levers with electrical cutoff switches wired to trigger the regen signal. This guide walks the full how to retrofit regenerative braking on direct drive hub motor ebike build process — controller swap, wiring, brake integration, BMS checks, and tuning — plus the parts and tools that make the install painless in 2026.
Why Only Direct Drive Hub Motors Can Regen
A direct drive hub motor has the stator bolted directly to the axle and the magnets in the spinning shell — no gears, no clutch, no freewheel. Spin the wheel and the motor becomes a generator. Geared hub motors and mid-drives use an internal one-way clutch so the motor doesn't drag when you're pedaling unpowered; that same clutch makes regen impossible because the wheel can never back-drive the motor windings.
The best how to retrofit regenerative braking on direct drive hub motor ebike build for your situation depends on how you plan to use it and where.
![Lamicall Bike Frame Bag Waterproof - [1s Release] [2 in 1] Bike Phone Mount Holder, Bicycle Top Tube Bag, Cycling Pouch with Rain Cover, Bikes Accessories Gifts for Phones Under 7"](https://ebikeroo.com/aimg/images/I/71VKkKd2xtL._AC_SX679_.jpg)
So step zero of any regen retrofit: confirm your motor is genuinely direct drive. Spin the wheel off the ground with the controller unplugged. If you feel strong magnetic cogging resistance and the motor spins both directions equally, you're direct drive. If it freewheels silently in one direction, stop here — no controller swap will give you regen.
What Regen Actually Buys You
Set expectations correctly before you spend a dollar. On a flat commute, regen recovers 5–8% of total energy. On hilly terrain with long descents, 10–15% is realistic. The bigger wins are:
- Brake pad life — mechanical pads last 3–4× longer when regen handles routine slowing.
- Smooth single-lever control — variable regen on the throttle or brake lever feels like engine braking on a motorcycle.
- Safer long descents — no more glazed rotors or boiled hydraulic fluid on 10-minute mountain runs.
If you bought into regen expecting to double your range, recalibrate now. If you want better brake longevity and smoother deceleration, you're in the right place.
Parts You'll Need for the Build
1. A Regen-Capable Controller
This is the single most important purchase. Stock direct-drive ebike controllers from cheap kits almost never support regen even though the motor can do it. Your options in 2026:
- Grin Phaserunner V6 — the gold standard. Field-oriented control (FOC), programmable regen current, three regen levels, plug-and-play with Cycle Analyst V3. $290 ballpark.
- Grin Baserunner — smaller, integrated for in-frame mounting on commuters. Same regen features, lower current ceiling.
- KT sine-wave controllers with regen firmware — budget option ($60–$90), works with KT-LCD3/LCD5/LCD8H displays that expose regen settings.
- Nucular 6/12/24 — overkill for commuters, perfect if you also want 60V+ high-power performance.
Match the controller's voltage and current rating to your battery and motor. A 48V 25A controller on a 1000W direct drive is the sweet spot for most retrofits.
2. Brake Levers with Electrical Cutoffs
Your existing brake levers probably don't have the two-wire cutoff switch the controller needs. You have two paths:
- Replace the lever assembly — Tektro HD-E350 hydraulic levers or Magura MT5e levers have built-in cutoff switches and shift the regen feel to the lever itself.
- Add hall-effect sensor switches — Grin sells stick-on magnet/reed switch kits that clamp to any existing brake lever. Cheaper and reversible.
3. A BMS That Allows Charge Current
Open your battery case. Find the BMS. Look up its part number. Many cheap battery-pack BMS units have a charge MOSFET rated for 2–3A — the wall charger's max. If regen current exceeds that, the BMS will trip every time you brake, or worse, the MOSFETs will burn out. You want a BMS rated for at least 10A continuous charge current. Smart BMS units from Daly, JBD, or ANT with Bluetooth let you log regen events too.
4. Throttle (Optional but Worth It)
If you want variable regen on the throttle (push forward = motor, pull back from center = regen), you need a center-sprung throttle and a controller that supports bidirectional throttle input. The Phaserunner does. Most KT controllers don't — they only do on/off regen triggered by the brake lever.
Step-by-Step Install Walkthrough
Step 1: Document Your Current Wiring
Before unplugging anything, photograph every connector and label which wire goes where. Direct drive hub motors typically have three phase wires (yellow/green/blue) and five hall sensor wires (red, black, blue, green, yellow). Mark them — phase/hall combinations matter and you'll need to find the right one with the new controller.
Step 2: Mount the New Controller
The Phaserunner is small enough to live inside most downtube bags or under a saddle. Heat dissipation matters — regen pumps current back through the same MOSFETs as drive current, so airflow helps. A good frame bag with mesh panels works well.
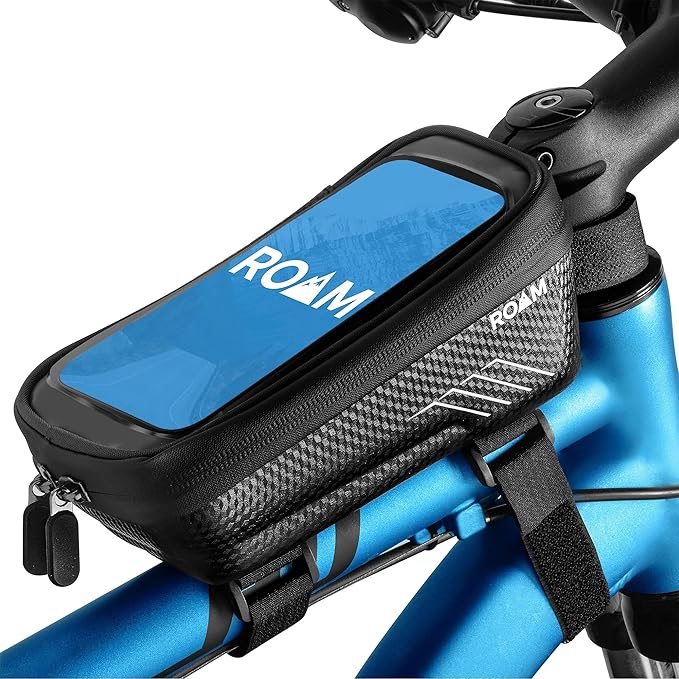
Lamicall Waterproof Bike Frame Bag with Phone Mount (2-in-1)
This dual-purpose bag fits the Phaserunner V6 plus your Cycle Analyst wiring with room to spare, and the integrated phone mount means you don't need a separate handlebar mount for the Grin programming app or your nav screen. Waterproof zippers matter because the regen retrofit puts more electronics on the frame than the stock build.
Step 3: Wire the Phases and Halls
Plug in the three phase wires and five hall wires using bullet connectors or the controller's molded plug. There are 36 possible phase/hall combinations. The Phaserunner auto-detects in <30 seconds via the Grin app. KT controllers require manual swapping — connect, spin the wheel, and check direction. If the motor stutters, jerks, or only runs in one direction smoothly, swap two phase wires and try again.
Step 4: Install Brake Cutoff Switches
Run the two-wire cutoff cable from each brake lever to the controller's brake input. Most controllers have a single brake input that accepts a normally-open switch — when you squeeze the lever, the switch closes, the controller cuts drive power and engages regen at the configured level. Y-cable the front and rear levers so either one triggers regen.
Step 5: Configure Regen Levels
In the Grin app (Phaserunner) or KT display settings, set three parameters:
- Maximum regen current (battery side) — start at 8A. Increase only if your BMS handles it.
- Maximum regen current (phase side) — 30–50A typical. This sets braking force.
- Low-voltage cutoff — don't let regen push the battery above its max charge voltage (54.6V on a 48V 13s pack). Critical for battery life.
Step 6: Test, Then Test Again
First test on a quiet street at 10 mph. Squeeze the brake lever lightly and feel the motor pull back. Increase speed and test heavier braking. Watch your battery voltage on the display — if it spikes past 54.6V, dial back regen current immediately.
Tools and Accessories That Make the Build Easier
You'll be inflating tires repeatedly during test rides, checking pressure under different loads, and dealing with a tubeless setup if your wheel build is new. A portable inflator earns its place in the toolkit.
Airmoto Portable Tire Inflator
Compact, rechargeable, accurate to ±1 PSI, and reads in PSI/BAR/KPA. During a regen retrofit you'll deflate-and-reinflate to true the wheel after lacing tweaks, and the digital readout beats squeezing a tire to guess pressure. Check it on Amazon.
Cordless Tire Inflator Portable Air Compressor Pump
Bigger battery, higher max pressure (150 PSI vs Airmoto's 120), better for fat-tire ebikes or shop use where you might also be airing up a car tire. Check it on Amazon.

Comparison Table
| Product | Max PSI | Cordless | Best For |
|---|---|---|---|
| Airmoto | 120 PSI | Yes | Pocket-size, road/MTB tires |
| Cordless Tire Inflator | 150 PSI | Yes | Fat tire ebikes, garage use |
| Lamicall 2-in-1 Frame Bag | N/A | N/A | Controller + phone integration |
| Lamicall Phone Holder | N/A | N/A | Grin app / KT tuning on the ride |
| Roam Universal Phone Case | N/A | N/A | Weatherproof tuning in any climate |
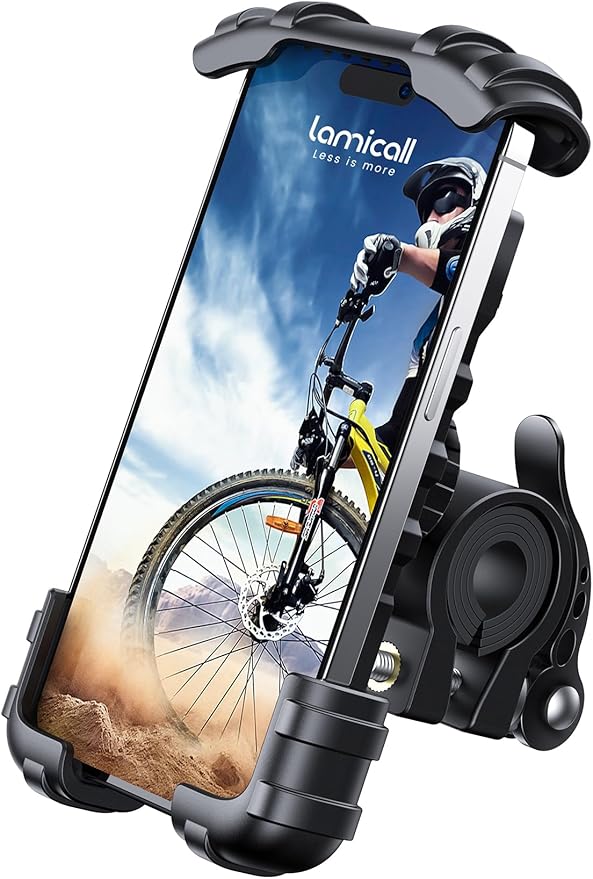
Lamicall Bike Phone Holder
You'll be running the Grin programming app or a KT display tool over Bluetooth during tuning rides. A rock-solid phone mount keeps your phone in view while you adjust regen current at a stoplight. The Lamicall locks tight on any bar diameter and survives potholes. Check it on Amazon.
Roam Universal Bike Phone Holder + Waterproof Case
If you're tuning in rain or commuting year-round, the Roam's waterproof case lets you keep the Grin app or Cycle Analyst Bluetooth connection live without water damage. Check it on Amazon.
Common Pitfalls and How to Avoid Them
BMS trips on every braking event. Your BMS charge-current limit is below the regen current. Reduce regen battery current in the controller, or upgrade the BMS. Don't bypass the BMS.
Voltage spike kills the controller. Regen at a full battery has nowhere to dump current. Always leave 10% headroom — never start a long descent with a 100% pack. Some riders fit a brake resistor / shunt regulator as insurance.
Wheel locks up under heavy regen. Phase current set too high. Dial back until braking is firm but progressive. Direct drive regen can theoretically lock a wheel — treat it like a real brake.
Hub motor overheats on long descents. Regen current dumps heat into the stator. On 10+ minute descents, mix regen with mechanical brakes to spread the heat load. See our thermal management guide for stator temp sensors.
Hall sensor faults after the swap. The new controller expects different hall wire polarity. Use the auto-detect routine on the Phaserunner, or manually try the 36 combinations on a KT controller.
What This Costs All-In
- Phaserunner V6 controller: $290
- Cycle Analyst V3 display: $160 (optional but recommended for regen logging)
- Brake cutoff switches (Grin kit): $25
- Upgraded BMS (Daly 13s 40A): $45
- Connectors, wire, heat shrink: $20
- Total: ~$540 budget, ~$700 with Cycle Analyst
Budget KT-controller build comes in under $150 if you reuse your existing display and battery BMS. Worth it for the brake-pad savings alone over 2–3 years.
Frequently Asked Questions
Can you add regenerative braking to a geared hub motor ebike?
No. Geared hub motors have an internal one-way freewheel clutch that disconnects the motor from the wheel when not under power. The wheel can't back-drive the motor, so regen is physically impossible. Only direct drive (gearless) hub motors and some mid-drives without freewheels can regen.
How much range does ebike regenerative braking actually add?
On flat city commutes, 5–8% extra range. On hilly routes with sustained descents, 10–15%. The real value isn't range — it's brake pad longevity (3–4× life extension), smoother deceleration, and safer long descents. Don't retrofit regen expecting double the miles.
Will regenerative braking damage my ebike battery over time?
Only if you let it overcharge the pack or push current beyond the BMS spec. A properly configured controller limits regen voltage to the pack's max charge voltage (54.6V for 48V 13s) and current to the BMS rating. Done correctly, regen cycles are gentler than wall charging because the current is intermittent and low.
What's the best controller for a regen retrofit in 2026?
The Grin Phaserunner V6 — FOC, three programmable regen levels, Bluetooth tuning via the Grin app, and plug-and-play with Cycle Analyst V3 for logging. Budget alternative: a KT sine-wave controller with regen-enabled firmware paired with a KT-LCD3 display, around $80 total.
Do I need new brake levers for regen, or can I use my existing ones?
You can keep your existing levers if you add stick-on hall-effect or reed-switch cutoff sensors (Grin sells a kit). For a cleaner install, replace with Tektro HD-E350 hydraulic levers or Magura MT5e levers that have built-in electrical cutoff switches integrated into the lever body.
Can I get variable regen on a thumb throttle instead of the brake lever?
Yes, with a center-sprung bidirectional throttle and a controller that supports it (Phaserunner does, most KT controllers don't). Push forward = motor power, pull back from center = proportional regen. Feels like a tiny motorcycle once you're used to it.
Will retrofitting regen void my ebike warranty?
Almost certainly yes if it's a complete bike from a major brand. If you built the bike from a kit, there's no warranty to void. Check the warranty implications guide before opening the controller housing on a complete bike.
Key Takeaways
- Choosing the right how to retrofit regenerative braking on direct drive hub motor ebike build means matching capacity and output ports to your actual devices
- Always check actual watt-hours (Wh), not just watts — runtime depends on Wh, not peak output
- Also covers: regen brake direct drive hub motor
- Also covers: ebike regenerative braking diy
- Also covers: controller swap for regen braking
- Compare price-per-Wh across models to find the best value for your budget