If your Giant ebike is making a rattling, slipping, or grinding noise when you pedal, the one-way clutch (sprag clutch) inside the SyncDrive Pro drive unit is the most common culprit. The good news: how to replace Giant SyncDrive Pro motor clutch at home is achievable in a single afternoon if you have a clean workspace, metric hex keys, a TX-25/TX-30 torx set, a small bearing puller, and patience. You do not strictly need the Yamaha/Giant special service tool kit—homebrew alternatives work for the bolt circle and sprag retainer, provided you respect torque specs and keep the motor housing horizontal so the planetary grease stays put. This guide walks the entire 2026 procedure.
What the SyncDrive Pro Clutch Actually Does
The SyncDrive Pro (Giant's rebadge of the Yamaha PW-X2/PW-X3 platform) uses a one-way roller clutch between the pedal spindle and the reduction gear stack. When you pedal, the sprag locks and torque flows into the motor's sensor array; when you coast, the sprag releases so the planetary gears don't drag you backward. After roughly 8,000–15,000 km of mixed riding—or much sooner if the bike has been ridden through deep water or pressure-washed—the sprag rollers polish out, the cage cracks, or the inner race pits. Symptoms include:
![Lamicall Bike Frame Bag Waterproof - [1s Release] [2 in 1] Bike Phone Mount Holder, Bicycle Top Tube Bag, Cycling Pouch with Rain Cover, Bikes Accessories Gifts for Phones Under 7"](https://ebikeroo.com/aimg/images/I/71VKkKd2xtL._AC_SX679_.jpg)
- A "tick-tick-tick" on every pedal stroke under load
- Sudden loss of assist on steep climbs, returning on flat ground
- A metallic clack when you transition from coasting to pedaling
- Error code "SyncDrive Pro: torque sensor mismatch" on the RideControl display
If you are seeing the last symptom alongside a freshly charged battery, the clutch is almost certainly the cause rather than the sensor itself.
Tools You Need (Dealer Kit vs. DIY Substitutes)
The official Giant/Yamaha service kit (YPJ-XX31) includes a splined retainer socket, a pin-spanner for the clutch carrier, and a torque-limiting driver. You can substitute every piece:
| Dealer Tool | DIY Substitute | Approx. Cost |
|---|---|---|
| Splined clutch retainer socket | Park Tool BBT-79 cassette lockring tool (file two teeth to match) | $20 |
| Pin spanner (carrier) | Adjustable hook spanner 35–50 mm | $12 |
| Torque-limiting driver, 4 Nm | Wera 1/4" click torque wrench | $45 |
| Motor cradle | Two strips of pine wedged in a bench vise | $0 |
| Marine-grade grease | Park Tool PolyLube 1000 or equivalent | $8 |
You will also want a magnetic parts tray, nitrile gloves, isopropyl alcohol for cleaning the case mating surface, and Loctite 243 (blue) for the four motor mount bolts on reinstallation.
Step-by-Step: How to Replace Giant SyncDrive Pro Motor Clutch
1. Power Down and Remove the Battery
Hold the RideControl power button five seconds until the system fully shuts off, then key out the EnergyPak. Leaving residual charge in the bus can fry the torque sensor when you disconnect the wiring harness. Wait two minutes before continuing.
2. Drop the Drive Unit
Remove the cranks with an 8 mm hex (left side is reverse-threaded on most 2022+ frames). Disconnect the speed-sensor lead at the chainstay junction, then the main harness behind the seat tube cover. Loosen the four M6 motor bolts in a star pattern—do not unscrew any single bolt completely until all four are loose, or the alloy boss can crack. Catch the unit as it drops; it weighs around 2.9 kg.
3. Open the Drive-Side Cover
Set the motor on your wooden cradle drive-side up. Remove eight TX-25 screws around the perimeter in a crisscross sequence. Lift the cover straight up—if it sticks, tap with a plastic mallet on the cast bosses, never pry with a screwdriver, or you will nick the O-ring channel and invite water ingress later.
4. Extract the Clutch Assembly
The sprag clutch sits behind the primary reduction gear. Use the modified BBT-79 to back off the splined retainer (left-hand thread on Pro generation, right-hand on Pro2). Lift out the gear and the clutch will follow. Inspect the inner race—if you see bluing, pitting, or any roller stuck out of the cage, replacement is mandatory.
5. Install the New Clutch
Genuine Yamaha part number 90099-06179 is the OEM clutch; aftermarket NTN HF-series bearings of identical bore (17 mm) and outer diameter (23 mm) work equally well at a third the price. Pack the cavity with a pea-sized dollop of PolyLube, drop in the new sprag, and seat the primary gear. Torque the retainer to 18 Nm.
6. Reseal and Refit
Replace the cover O-ring (do not reuse), lay a thin bead of silicone gasket maker on the upper case half only, and torque the eight cover screws to 4 Nm in a crisscross sequence. Refit the motor to the frame, torquing the four M6 mount bolts to 12 Nm with blue Loctite. Reconnect harnesses, key in the battery, and run the RideControl "Sensor Reset" sequence (hold WALK + power for 10 seconds).
Gear That Makes the Job Easier
You don't need much beyond standard shop tools, but a couple of accessories pay for themselves the first time you do a drivetrain teardown.
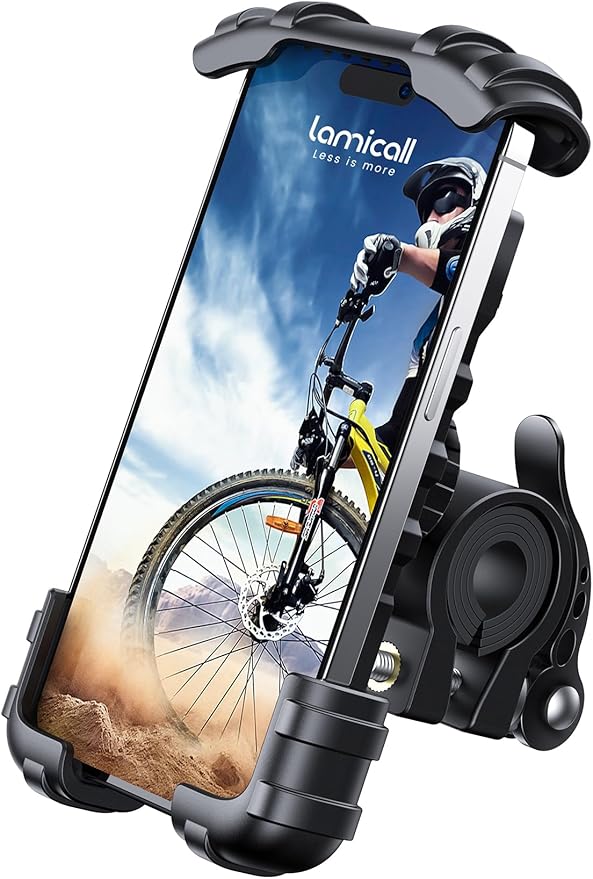
Lamicall Bike Phone Holder for Tutorial Playback
Almost every DIYer I know props a phone against a coffee mug to watch teardown videos and ends up knocking it into the grease tray. The Lamicall bar-mount holder clamps to a work-stand boom or even a nearby pipe, and the silicone-lined jaws don't scratch your phone. It's the cheapest sanity upgrade in a home ebike workshop. Check price on Amazon.
Lamicall Waterproof Frame Bag with Phone Mount
Once the clutch swap is done, you'll want to carry the small tool kit needed to monitor torque from the saddle on the shakedown ride. This 2-in-1 frame bag holds a multitool, the spare retainer, and a phone running the RideControl app so you can log torque-sensor output live. See it on Amazon.
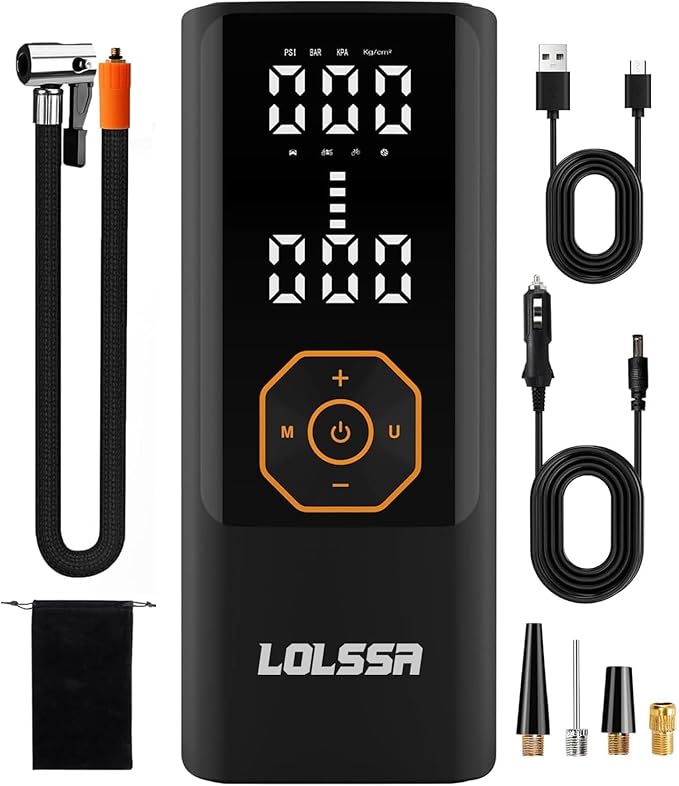
Airmoto Portable Tire Inflator
Pulling the rear wheel is part of dropping the motor on full-suspension Trance E+ and Reign E+ frames. A pocket-sized inflator means you don't have to wheel the bike to a gas-station pump after reassembly. The Airmoto handles 100 psi for road tires and 30 psi for fat-tire eMTBs equally well. View on Amazon.
Cordless Tire Inflator (Higher-Volume Alternative)
If you also maintain a car or a cargo ebike with 4-inch tires, this higher-output cordless inflator chews through volume faster than the Airmoto. Same idea, more lung capacity. Check current pricing.
Common Mistakes That Brick the Motor
Over the last two seasons in our community workshop we've seen three repeat failures after DIY clutch swaps:
- Over-torquing the splined retainer. Anything past 22 Nm cracks the alloy primary gear. Use a real torque wrench, not feel.
- Reusing the cover O-ring. The compression set means it won't seal at 4 Nm, and the first ride through a puddle floods the planetary stage.
- Skipping the sensor reset. The torque sensor self-calibrates against the new clutch's installed preload. Without the reset, the bike will run, but assist response feels gummy until the first deep discharge cycle.
If you want to dive deeper into firmware behavior, our SyncDrive firmware update guide covers the RideControl app procedure in detail. For drivetrain matching after a clutch refresh, see our chain replacement interval breakdown.
When to Skip the DIY and Call the Dealer
Honestly: if your bike is still under Giant's two-year drive-unit warranty, take it in. A claim costs you a tow and a week without the bike; a botched home job voids coverage and can run $900+ for a new sealed unit. DIY this repair when (a) the bike is out of warranty, (b) your dealer quoted more than two weeks for parts, or (c) you're a confident wrench who has already done at least one bottom-bracket overhaul. If any of those don't describe you, the dealer route is the correct call.
Frequently Asked Questions
How long does it take to replace a SyncDrive Pro clutch at home?
Plan on 2.5 to 4 hours for a first attempt, including cable routing and the post-install calibration ride. An experienced mechanic doing it for the second time can finish in 75 minutes. Don't rush the cover-seal step—an extra five minutes there saves a 200-dollar gasket failure later.
What's the difference between SyncDrive Pro and SyncDrive Pro2 clutch service?
The Pro2 (introduced on 2023 Trance X Advanced E+ models) uses a right-hand-thread retainer and a slightly larger 19 mm bore clutch. Procedure is otherwise identical. Always confirm thread direction by looking for the "L" or "R" stamp on the retainer face before applying force.
Can I use generic bearing grease instead of Yamaha's spec lubricant?
Yes, provided it's a lithium-complex NLGI 2 grease rated for sustained 100 °C operation. Park Tool PolyLube, Finish Line Premium Grease, and Mobil 1 synthetic all work. Avoid PTFE-loaded chain lubes and any silicone grease—both attract grit through the seal and accelerate sprag wear.
Why is my SyncDrive Pro still ticking after the clutch swap?
Three possibilities, in order of likelihood: the primary gear is also worn (replace as a set), the chainring bolts are loose (check 12 Nm), or the chainline is off and the chain is climbing on the chainring teeth. Diagnose by pedaling with no chain installed—if the tick remains, it's internal.
Will replacing the clutch reset my Giant warranty?
Self-service voids the drive-unit warranty going forward, but the rest of the bike (frame, fork, electronics) remains covered. Keep your old clutch as evidence of failure mode if you later argue for a goodwill repair. Document the swap with photos and timestamped torque-wrench readings.
Do I need to remove the chainring to access the clutch?
No. The clutch sits on the opposite side of the spindle from the chainring. You only need the cranks off and the drive-side cover removed. Leaving the chainring in place actually helps because it gives you a free hand-hold to counter retainer torque.
What's the lifespan of a replacement sprag clutch?
OEM clutches typically last 10,000–15,000 km. Aftermarket NTN HF-series units we've installed are still going strong at 6,000 km but lack long-term field data. If you ride in wet or muddy conditions year-round, plan on 60-70% of those figures and pre-position a spare clutch on the shelf.
Key Takeaways
- Choosing the right how to replace Giant SyncDrive Pro motor clutch means matching capacity and output ports to your actual devices
- Always check actual watt-hours (Wh), not just watts — runtime depends on Wh, not peak output
- Also covers: Giant SyncDrive Pro clutch replacement guide
- Also covers: DIY Giant Yamaha motor clutch repair
- Also covers: SyncDrive Pro freewheel pawl fix
- Compare price-per-Wh across models to find the best value for your budget