Yes, you can fix it in place. Here is exactly how to replace Bafang BBS02 nylon gear without removing motor from the frame: drop the chain, unthread the chainring lock ring, pull the spider, remove the six Phillips screws holding the gearbox side cover, lift the cover off, slide the cracked nylon reduction gear off its shaft, repack with marine grease, drop in the replacement gear, reseat the cover with fresh thread-locker, and torque the chainring lock ring back to spec. The whole job takes 45-90 minutes on the workstand, no motor-mounting plate removal required.
This guide walks through the 2026 version of the procedure using the current revision of the BBS02B (the post-2023 housings with the slightly relocated speed-sensor port), but the same teardown works on every BBS02 sold since 2017. If your nylon gear is stripped, chipped, or sounds like a coffee grinder under load, you are in the right place.
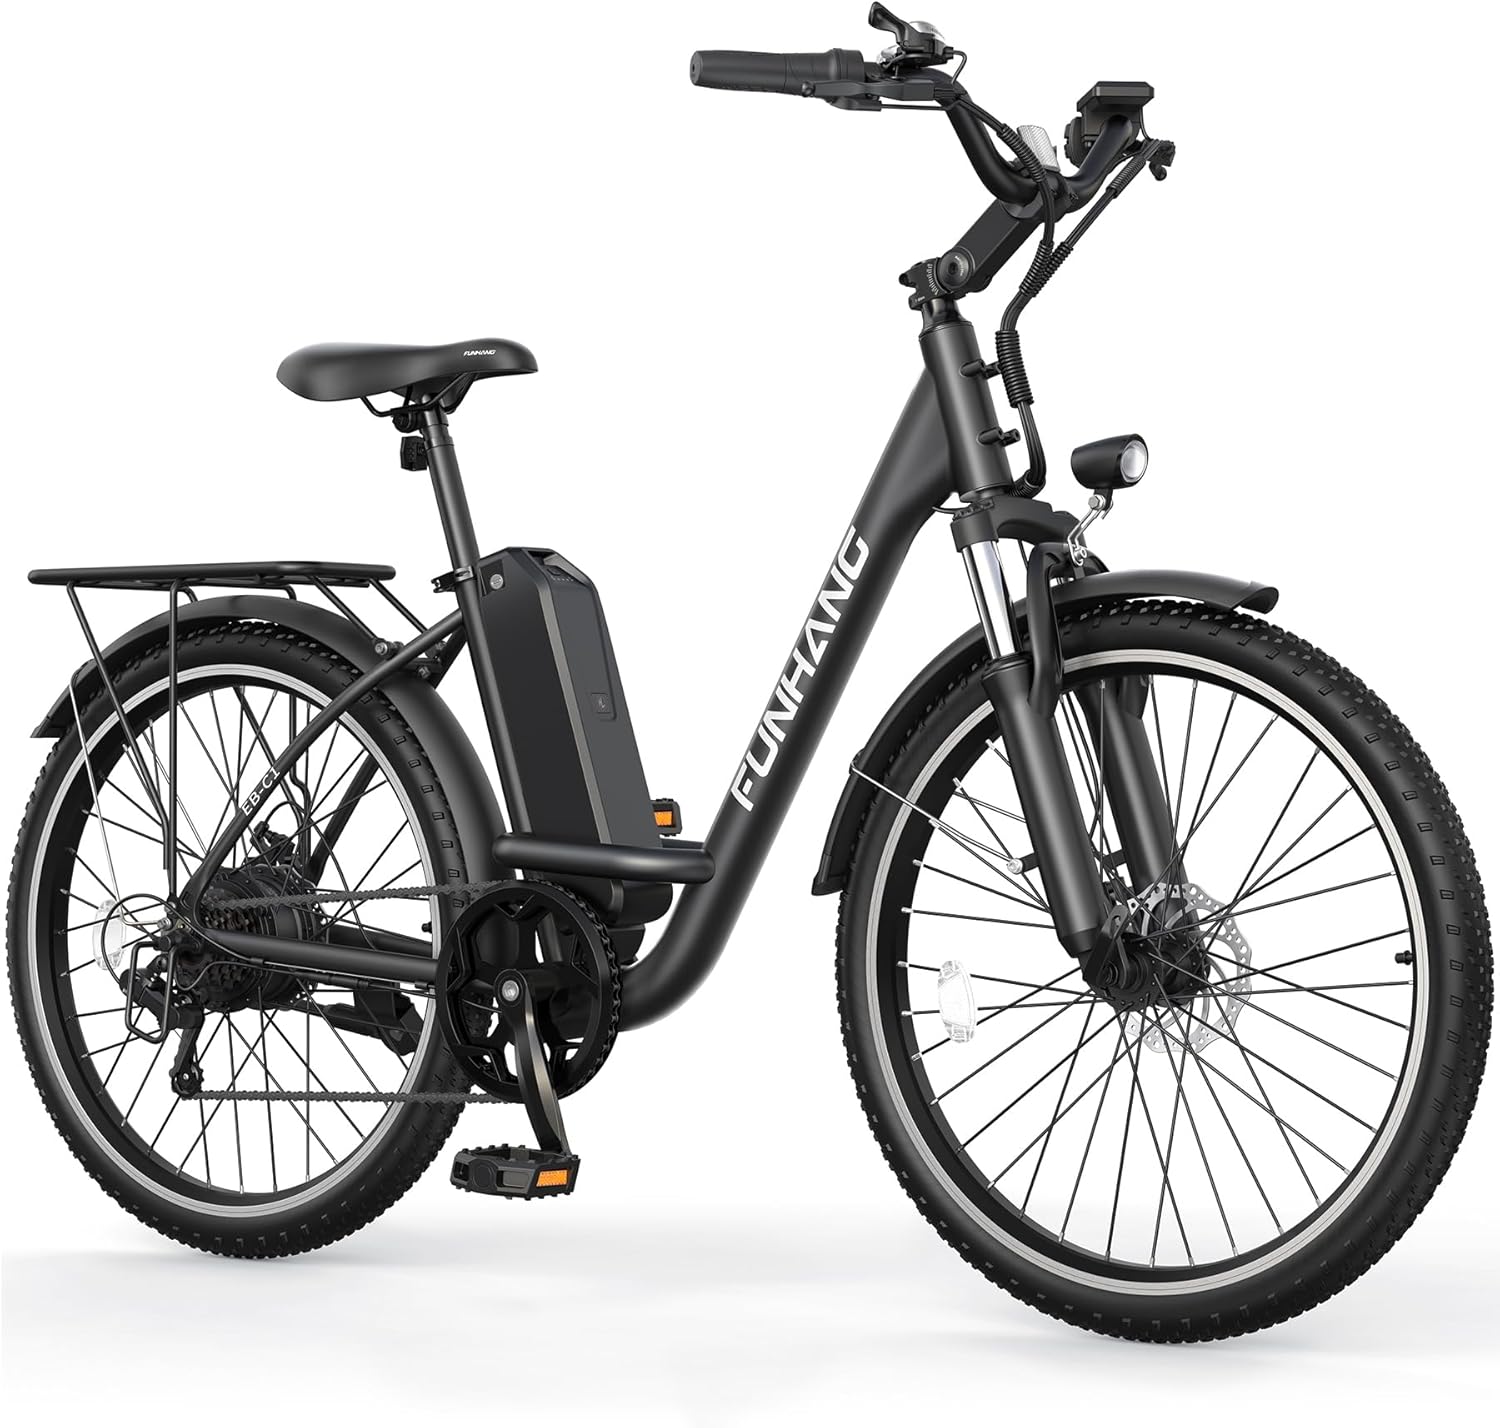
The best how to replace bafang bbs02 nylon gear without removing motor for your situation depends on how you plan to use it and where.
Why the BBS02 nylon gear fails (and why in-frame repair is fine)
The BBS02 uses a single nylon reduction gear sandwiched between the motor's steel pinion and the output shaft that drives the chainring. Bafang chose nylon on purpose: it is the designed sacrificial part. When you over-shift under full throttle, lug up a hill in too high a gear, or run 52V on a 750W-rated controller for 6,000 miles, the nylon teeth shear before anything expensive in the motor breaks. That is good engineering, but it also means every BBS02 owner will eventually meet this gear.

The good news: the failure point is on the outboard side of the motor - the side that faces away from the frame. Every fastener you need to touch is reachable with the motor still bolted to the bottom bracket shell. You only need to remove the motor when you are replacing the controller (other side), the Hall sensors, or the main bearings. A gear swap stays external.
Tools and parts checklist for the 2026 BBS02 gear swap
Before you start, lay everything out. Stopping mid-job to source a snap ring is how covers get reassembled with grit inside them.
- Replacement nylon gear kit - get the kit that includes the gear, the steel reinforcement pin (some 2024+ kits ship a pinned version), the circlip, and a small grease packet. Generic kits from Lekkie, Luna Cycle, and direct-from-Bafang all work; the Lekkie kit ships with a thicker steel pin.
- Bafang spider/chainring lock ring tool - the splined cup that fits the BBS02 chainring lock ring. A Park Tool BBT-79 will not fit. You need the Bafang-specific tool, around $12.
- Snap ring pliers - internal type, 90-degree tip. The retaining clip on the gear shaft is small.
- Phillips #2 screwdriver - JIS preferred. The six gearbox cover screws are soft; a worn Phillips will cam them out.
- T25 Torx - for the chainring bolts if you are also pulling the chainring off the spider.
- Marine grease - Lucas Red "N" Tacky, Mobil XHP 222, or Phil Wood. Do not use lithium-only grease; it migrates off the gear teeth under heat.
- Medium thread-locker (Loctite 243 / blue) - for the cover screws on reassembly.
- Torque wrench reading 1-10 Nm - the cover screws are easy to strip.
- Clean rags, brake cleaner, nitrile gloves.
If you do not already own the Bafang spider tool, order it before you start - it is the one part of this job you cannot bodge with a substitute. A pin spanner will round the lock ring.
Step 1: Prep the bike
Put the bike in a workstand with the drive side facing you. Remove the battery and disconnect the display cable at the motor. This is non-negotiable; the BBS02 controller can latch a current path through the Hall sensors even with the display off, and you do not want a stray short while your fingers are inside the gearbox.
Shift the rear derailleur to the largest cog so the chain is slack on the chainring side. Drop the chain off the chainring and let it hang on the bottom bracket shell. You do not need to break the chain.
Step 2: Remove the chainring lock ring and spider
Seat the Bafang spider tool into the splined lock ring at the center of the chainring. The lock ring is reverse-threaded on BBS02 motors - turn it clockwise to loosen (looking at the drive side). This is the single most-skipped detail on every forum thread; people apply 80 Nm in the wrong direction and snap the tool.
With the lock ring off, the chainring spider slides off the splined output shaft. There may be a thin steel washer behind it - note its orientation and set it aside on a clean rag.

Step 3: Open the gearbox cover
You are now looking at the outboard face of the BBS02. The gearbox cover is the round black plate held on by six Phillips screws around its perimeter. There is a small sealed cable port at the top for the speed sensor or shift sensor - leave that alone, the cover comes off without unplugging it as long as you have slack.
Loosen all six screws a half-turn in a star pattern first, then remove them fully. Set them on a magnetic tray; one is shorter than the others (the one nearest the cable port) and must go back in the same hole. The cover is sealed with a thin gasket; if it sticks, tap the perimeter with a plastic mallet. Do not pry with a metal screwdriver - you will gouge the mating face and you will never seal the gearbox again.
Once the cover is off, take a photograph. The arrangement of the nylon gear, the small washer behind it, the snap ring, and the white plastic dust shield must go back exactly as it came out.
Step 4: Pull the failed nylon gear
The nylon gear sits on the secondary shaft, retained by a circlip on the outboard face. Spread the circlip with your snap ring pliers and lift it off; it usually comes off easily because gear failure shaves enough nylon to give you slack.
With the clip removed, the gear lifts straight off the shaft. If it resists, the steel pin through its hub may be bent (a sign the failure was sudden rather than gradual). Wiggle it gently; do not lever against the housing.
Inspect the steel pinion (the small gear at the end of the motor armature). The pinion should have crisp tooth edges and no visible blueing. If it is chewed, you have a bigger problem and you will need to pull the motor for armature work - but in 9 out of 10 cases the nylon sacrificed itself and the pinion is fine.
Wipe out the old grease with a clean rag. Do not use brake cleaner inside the gearbox - it will strip the lubricant out of the main bearing on the secondary shaft, which you cannot easily relube without further teardown.
Step 5: Install the new gear and repack grease
Smear a generous coat of marine grease on the new nylon gear's teeth and a thinner coat on the steel pinion. Pack the cavity around the gear about two-thirds full - over-packing pushes grease past the cover seal and onto your chainring.
Slide the new gear onto the shaft. If your kit included a replacement steel reinforcement pin, install it now per the kit instructions (most slide through a pre-drilled hole in the hub). Seat the circlip into its groove with the snap ring pliers and confirm it is fully home by spinning the gear once - it should rotate smoothly with no axial play.
Step 6: Reseal the cover
Check the gasket. If it is intact and supple, reuse it. If it is torn or crushed, a $4 replacement is sold with most gear kits - do not skip this. A leaking gearbox flings grease onto your chainstay and dries out within a few hundred miles.
Apply one small drop of blue Loctite to each of the six cover screws. Reinstall the cover, dropping the short screw into the correct hole near the cable port. Snug all six screws by hand first, then torque to 4 Nm in a star pattern. These threads bottom into thin aluminum bosses - overtightening cracks the housing and ends the motor.
Step 7: Reinstall the chainring and lock ring
Slide the steel washer back onto the output shaft (orientation per your earlier photo), then the chainring spider. Thread the lock ring on counter-clockwise by hand until snug, then use the Bafang spider tool and a torque wrench to bring it to 40 Nm. The lock ring is what keeps the chainring concentric with the spline - if you leave it finger-tight you will get a creak under load and the chain will dance.
Step 8: Reconnect and test
Reroute the chain over the chainring. Reconnect the display cable and the battery. Power on and run the motor at PAS 1 against the rear brake for 10 seconds - you are listening for the new gear to mesh quietly. A faint whirr is normal. A click or rattle means the circlip is not seated; stop and reopen.
Take the bike for a 1-mile shakedown ride before committing to a long trip. Pay attention to throttle response under load; if the new gear is mismeshed, full-throttle starts will reveal it within a block.
Common mistakes that turn a 60-minute job into a weekend
- Forcing the cover off with metal tools. Plastic only. Aluminum scratches become permanent grease leaks.
- Using lithium grease. It bleeds out within 500 miles under motor heat. Marine grease holds.
- Over-torquing the cover screws. 4 Nm. Not 5, not "snug plus a bit." The aluminum bosses are thin.
- Reusing a torn gasket. $4 part, hours of frustration if you skip it.
- Skipping thread-locker on cover screws. Vibration walks them loose within a few hundred miles and your gearbox vents grease onto your shoe.
Should you upgrade to a steel-reinforced gear?
Lekkie, Luna, and a handful of other vendors sell "pinned" nylon gears with a steel pin through the hub. They cost roughly double the OEM gear and last roughly double the miles. If you ride a 52V battery on stock 25A firmware, the upgrade pays for itself on your second replacement. If you stay at 48V and ride conservatively, the OEM gear is fine - just keep a spare in your parts bin.
For context on the broader motor-care landscape, see our companion guides on Bafang BBS02 installation, the BBS02 vs BBSHD comparison, and our roundup of the best mid-drive ebike conversion kits in 2026.
Frequently Asked Questions
How long does it take to replace a Bafang BBS02 nylon gear in the frame?
For a first-time DIYer with the correct tools laid out, plan on 60-90 minutes. Experienced ebike mechanics knock the job out in 30-40 minutes. The single biggest time-sink for newcomers is sourcing the Bafang spider tool after the cover is already off - order it before you start.
Can I replace the BBS02 nylon gear without the special chainring tool?
Not safely. The chainring lock ring has shallow splines that will round under a pin spanner or punch. The Bafang-specific tool is about $12 and is the only correct way to remove and retorque the lock ring. Trying to substitute will end your job with a destroyed lock ring and a motor you cannot reassemble.
What grease should I use inside the BBS02 gearbox?
Use a tacky marine or moly-fortified grease such as Lucas Red "N" Tacky, Mobil XHP 222, or Phil Wood. Avoid white lithium grease and avoid PTFE sprays - both shed off the gear under motor heat within a few hundred miles and leave the nylon running dry.
Will replacing the nylon gear void my BBS02 warranty?
In practical terms, no. The gear is a wear part, and every reputable Bafang dealer in 2026 ships replacement kits explicitly for owner installation. If your motor is still inside its 12-month warranty window and the gear failed at low mileage, contact your dealer first - they often send the replacement free. Out of warranty, a self-replacement is normal maintenance and does not affect anything else.
How do I know if my BBS02 nylon gear is failing before it strips?
Listen for a high-pitched whine that gets louder under throttle, a faint clicking at low cadence, or a sudden loss of power assist while the display still shows the motor is engaged. Inspect the chainring side for grease seepage past the cover gasket - that often means the gear is shedding particles into the lubricant. Catching it early lets you swap the gear before the steel pinion takes any damage.
Do I need to recalibrate the BBS02 after replacing the nylon gear?
No. The gear swap is purely mechanical and does not touch the controller, Hall sensors, or PAS magnet disc. Power on, ride, and the motor behaves exactly as before. The only time you need to dive into the programming cable is if you also replaced the controller or speed sensor while you were in there.
How many miles should a replacement BBS02 nylon gear last?
An OEM nylon gear on a stock 48V/25A BBS02 typically lasts 3,000-6,000 miles depending on terrain and rider weight. A pinned steel-reinforced gear running at the same settings will go 6,000-12,000 miles. Aggressive 52V setups with raised current limits cut both numbers roughly in half, and frequent shifting under full throttle cuts them further still. Releasing the throttle during shifts is the single biggest thing you can do to extend gear life.
Key Takeaways
- Choosing the right how to replace bafang bbs02 nylon gear without removing motor means matching capacity and output ports to your actual devices
- Always check actual watt-hours (Wh), not just watts — runtime depends on Wh, not peak output
- Also covers: bafang bbs02 primary gear replacement in frame
- Also covers: fix stripped bafang nylon gear without motor removal
- Also covers: bbs02 secondary reduction gear swap step by step
- Compare price-per-Wh across models to find the best value for your budget