Replacing a broken spoke on your Aventon Aventure 2 looks intimidating because the rear hub motor blocks the spoke head from threading through the flange the normal way. The good news: you don't have to tear down the motor. Learning how to replace aventon aventure 2 spoke without removing hub motor comes down to one trick — using a slightly bent spoke that can hook into the flange hole at an angle, then straightening once it's seated. This guide walks through the full process, the exact tools you need in 2026, and how to true the wheel afterward so you're back on the road in under an hour.
Why the rear hub motor blocks normal spoke replacement
The Aventon Aventure 2 ships with a 750W brushless rear hub motor (1130W peak). Unlike a standard bike where you push a fresh J-bend spoke head-first through the hub flange, the motor housing on the Aventure 2 sits almost flush against the inside of the flange. A straight 13-gauge spoke physically cannot slide through the hole — there's no clearance for the J-bend elbow to clear the motor body.
The best how to replace aventon aventure 2 spoke without removing hub motor for your situation depends on how you plan to use it and where.
![Lamicall Bike Frame Bag Waterproof - [1s Release] [2 in 1] Bike Phone Mount Holder, Bicycle Top Tube Bag, Cycling Pouch with Rain Cover, Bikes Accessories Gifts for Phones Under 7"](https://ebikeroo.com/aimg/images/I/71VKkKd2xtL._AC_SX679_.jpg)
The 'official' shop fix is to remove the entire hub assembly: unplug the motor cable at the controller, pull the cassette, knock out all 36 spokes, then rebuild the wheel around a stripped hub. That's a 90-minute job even for an experienced mechanic, and it requires a torque wrench, a cassette tool, and confidence in lacing a wheel. The shortcut every mobile e-bike technician uses instead is the bent-spoke method below.
What you need before you start
- One replacement spoke at the correct length (Aventure 2 rear: 13G, ~224mm drive-side, ~226mm non-drive-side — measure your existing spoke if you're unsure)
- A spoke wrench sized for 13G nipples (Park Tool SW-7.2 black or a Spokey #1)
- Needle-nose pliers
- A small bench vise or sturdy clamp (optional but makes bending cleaner)
- A truing stand, or a zip-tie wrapped around the chainstay as a poor-man's reference gauge
- A few spare 13G brass nipples in case the old one is corroded
- A portable inflator to refill the fat tire after the wheel comes off
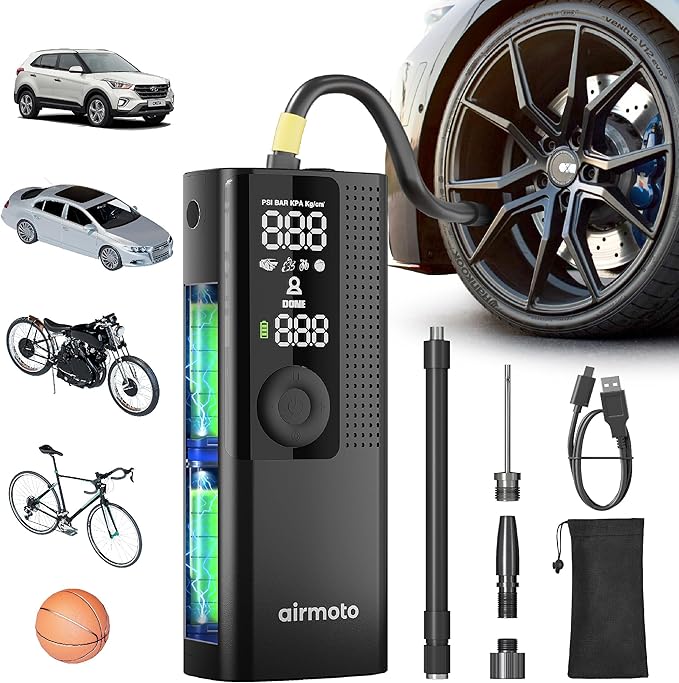
Airmoto Portable Tire Inflator Air Compressor
After you pull the rear wheel to access the broken spoke, you'll need to re-inflate the tire — typically 20–30 PSI for the 26 x 4" Kenda Juggernaut fat tires that come on the Aventure 2. The Airmoto handles that on a single charge and shuts off automatically at your preset PSI, so you're not babysitting a gauge while you finish trueing. It's compact enough to live in a frame bag for trailside spoke swaps too.
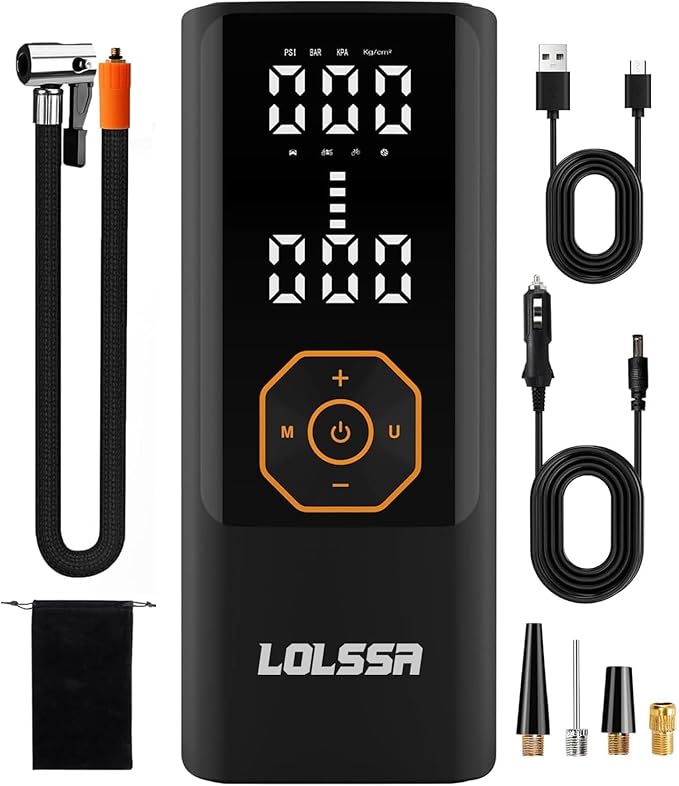
Cordless Tire Inflator Portable Air Compressor Pump
A higher-capacity alternative if you regularly air up from fully flat. The larger reservoir refills a 4-inch fat tire noticeably faster than pocket-size pumps, which matters when you're spinning the wheel to check trueness between top-ups. Both options auto-stop at preset PSI.
Check the Cordless Inflator on Amazon

Inflator comparison for Aventure 2 fat tires
| Feature | Airmoto | Cordless Tire Inflator |
|---|---|---|
| Max PSI | 120 | 150 |
| Battery | Internal Li-ion, USB-C charge | Removable Li-ion pack |
| Time to fill 26x4" from flat | ~3 min | ~2 min |
| Auto-stop at preset PSI | Yes | Yes |
| Pocket portable | Yes | Bulkier |
| Best for | Carrying on rides | Garage / trailhead |
Step-by-step: replacing the spoke without pulling the motor
1. Identify the broken spoke and its replacement length
If the spoke snapped at the J-bend (most common), measure a remaining spoke from the same side of the wheel — elbow to threaded tip. Drive-side and non-drive-side spokes on the Aventure 2 differ by about 2mm, so match the side. Don't trust the OEM part number alone — the 2023 redesign quietly changed the lacing pattern, and 2026 inventory at most shops still carries the older spec.
2. Deflate and remove the rear wheel
Power the bike off, disconnect the motor cable at the connector behind the chainstay (squeeze the locking collar, don't yank the wires), shift to the smallest cog, release the brake caliper, and drop the wheel. You don't need to remove the cassette unless the broken spoke is on the drive side and the cog stack physically blocks the flange hole. The Aventure 2's hub allows about 70 percent of drive-side replacements without pulling the cassette.
3. Remove the broken spoke and old nipple
Push the rim tape aside at the broken-spoke location, unscrew the old nipple with your spoke wrench (penetrating oil helps if it's seized), and pull both halves out. Inspect the nipple — if the head is cracked or rounded, swap in a fresh brass one. Brass nipples cost pennies; saving the old one is rarely worth the headache.
4. Bend the new spoke into a shallow C-curve
This is the key step. Clamp the spoke about 30mm down from the J-bend in a vise or grip it firmly with pliers. Bend the long shaft gently until the spoke forms a shallow arc — roughly 15 degrees of curvature, no kinks. The goal is to give the threaded tip enough angle to clear the motor housing as you feed it through the flange hole. A smooth arc is critical; a sharp kink creates a stress riser that will snap within a few hundred miles.
5. Thread the bent spoke through the flange
Insert the J-bend through the flange hole at an angle, hook side facing the right direction (alternating in/out around the flange, matching the spokes on either side). The arc lets the threaded tip rotate past the motor body that would normally block a straight spoke. Push until the J-bend seats fully into the flange hole.
6. Straighten the spoke against the rim
With needle-nose pliers, grip the spoke near the middle and gently flex it back to straight. A few firm passes from elbow to tip will remove all but the slightest residual curve. Don't obsess over perfection — the spoke tension during truing will pull out the last 1–2 degrees automatically.
7. Thread the nipple and bring to tension
Drop the new (or cleaned) nipple through the rim, start it on the spoke threads, and turn until it matches the tension of the spokes on either side. Use your fingertip — pluck adjacent spokes like a guitar string and match the pitch. Two or three matching pings is close enough for a single-spoke fix.
8. True the wheel
Spin the wheel in the frame (or truing stand) and watch for lateral wobble. Tighten the new spoke or loosen its neighbors in quarter-turn increments until the wobble at that section disappears. Re-check radial trueness (up-and-down hop) — the new spoke shouldn't introduce more than 1mm of radial run-out if you matched length and tension correctly.
Truing the wheel without a truing stand
You don't need a $200 Park Tool TS-2.2 for a single-spoke fix. Flip the bike upside down, wrap a zip-tie around the chainstay so the tail just touches the rim, and spin. Tighten the zip-tie until it scrapes at the wobble's high point, then adjust spoke tension until the scrape stops on a full rotation. For radial trueness, swap the zip-tie reference to point at the tire sidewall.
If you want a more permanent home setup, see our guide on how to true an e-bike wheel without a truing stand — it walks through three DIY references that work for fat-tire wheels specifically.
Storing tools and spares on the bike
Lamicall Waterproof Bike Frame Bag with Phone Mount
For trailside spoke replacements, a 2-in-1 frame bag holds your spare spokes, nipples, a small spoke wrench, and the Airmoto with room to spare. The clear top sleeve doubles as a phone mount, which is useful when you're following along with a video tutorial on the first repair attempt. The waterproof zipper keeps everything dry if you get caught in rain mid-fix.
Check the Lamicall Frame Bag on Amazon
When you actually should remove the hub motor
The bent-spoke method works for replacing one or two spokes at a time. If you've broken three or more spokes, or the wheel has a major radial hop you can't true out, the wheel was probably under-tensioned from the factory and the only real fix is a full re-lace. At that point, pull the motor, strip the wheel, and rebuild around a fresh set of 36 spokes at proper tension (around 110 kgf for the Aventure 2 rear).
For wheel removal in detail, check our Aventon Aventure 2 rear wheel removal guide, and for pressure specs after re-inflation see the Aventure 2 tire pressure guide.
Common mistakes that ruin the bent-spoke fix
- Bending too sharply. A kinked spoke has a stress riser and will snap within a few hundred miles. Aim for a gentle arc, not an L-shape.
- Wrong length. 2mm too short and the nipple bottoms out; 2mm too long and the threads protrude into the tube. Always measure.
- Reusing a stripped nipple. Brass nipples cost pennies. Replace, don't wrestle.
- Skipping the true. Even if the wheel looks straight, an untrued spoke will throw the whole wheel out of dish within a week of riding.
- Forgetting to reconnect the motor cable. The connector behind the chainstay snaps in with a click. If your throttle is dead after the repair, that's the culprit 90 percent of the time.
Frequently Asked Questions
Can I replace an Aventon Aventure 2 spoke without a truing stand?
Yes. A zip-tie wrapped around the chainstay as a reference gauge works fine for single-spoke fixes. Tighten the tie until it just touches the rim at the wobble's high point, spin the wheel, and adjust spoke tension until the rub disappears on a full rotation. For radial trueness, swap the reference to point at the sidewall.
What length spoke does the Aventon Aventure 2 rear wheel use?
The 2023-and-newer Aventon Aventure 2 rear wheel uses 13-gauge spokes, approximately 224mm on the drive side and 226mm on the non-drive side. Measure your existing spoke from the inside of the J-bend to the tip of the threads before ordering — Aventon has quietly revised the lacing pattern at least once, and aftermarket stock varies.
Do I need to remove the cassette to replace a drive-side spoke?
Usually not. About 70 percent of drive-side flange holes are accessible with the cassette in place if you angle the spoke correctly using the bent-spoke method. If the cog stack physically blocks the flange hole you need, pull the cassette with a lockring tool and chain whip — it adds about ten minutes to the job.
Will riding with a broken spoke damage the hub motor?
One broken spoke for a short ride home is fine — the wheel will be slightly out of true but the hub motor itself isn't stressed. Riding more than 10–15 miles with a broken spoke risks cascading failure: the neighboring spokes carry extra load and can snap in sequence, which can warp the rim or, in worst cases, allow the wheel to flex enough to drag the tire against the motor housing.
What tire pressure should I run after refilling the Aventure 2 fat tire?
Aventon's spec is 20–30 PSI for the 26 x 4" Kenda Juggernaut tires. Run 20 PSI for soft surfaces (sand, snow, loose dirt), 25 PSI for mixed gravel, and 30 PSI for pavement to maximize range. Cold weather drops pressure roughly 1 PSI per 10°F, so check before every ride in winter.
Can I use stainless steel spokes from a non-Aventon supplier?
Yes, as long as length and gauge match. Pillar, Sapim, and DT Swiss all make 13G stainless spokes that work in the Aventure 2 hub. Stick with brass nipples — aluminum saves a few grams but corrodes against steel spokes within a season of wet riding.
How long does the bent-spoke method last before I need to re-lace the wheel?
Done correctly with a gentle arc and proper tension, a bent-then-straightened spoke will last the life of the wheel — typically 5,000–8,000 miles on an Aventure 2. The bend introduces no meaningful fatigue point as long as you avoided a sharp kink. Re-true the wheel after the first 100 miles to account for spoke bedding-in, then every 500 miles thereafter.
Key Takeaways
- Choosing the right how to replace aventon aventure 2 spoke without removing hub motor means matching capacity and output ports to your actual devices
- Always check actual watt-hours (Wh), not just watts — runtime depends on Wh, not peak output
- Also covers: aventon aventure 2 broken spoke fix
- Also covers: replace spoke on hub motor ebike
- Also covers: aventon aventure spoke replacement guide
- Compare price-per-Wh across models to find the best value for your budget