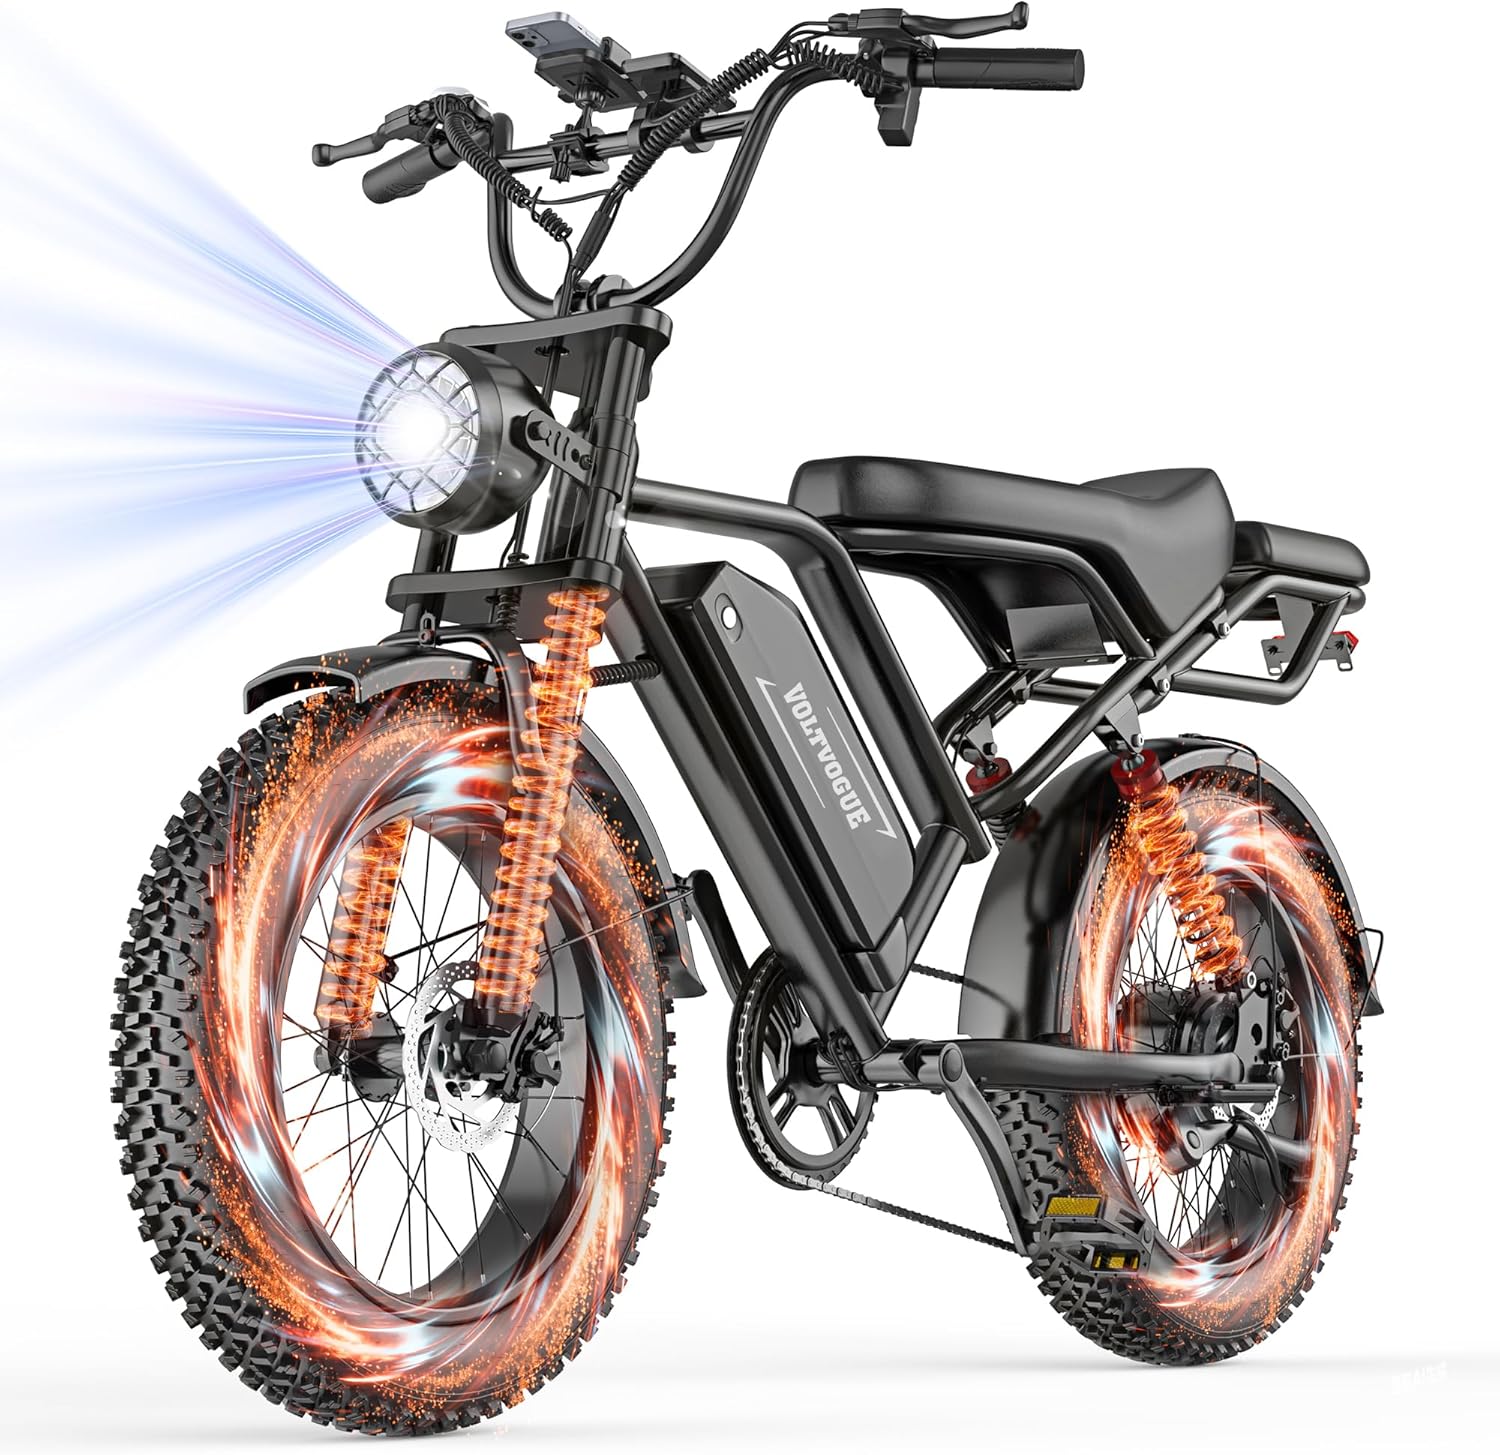
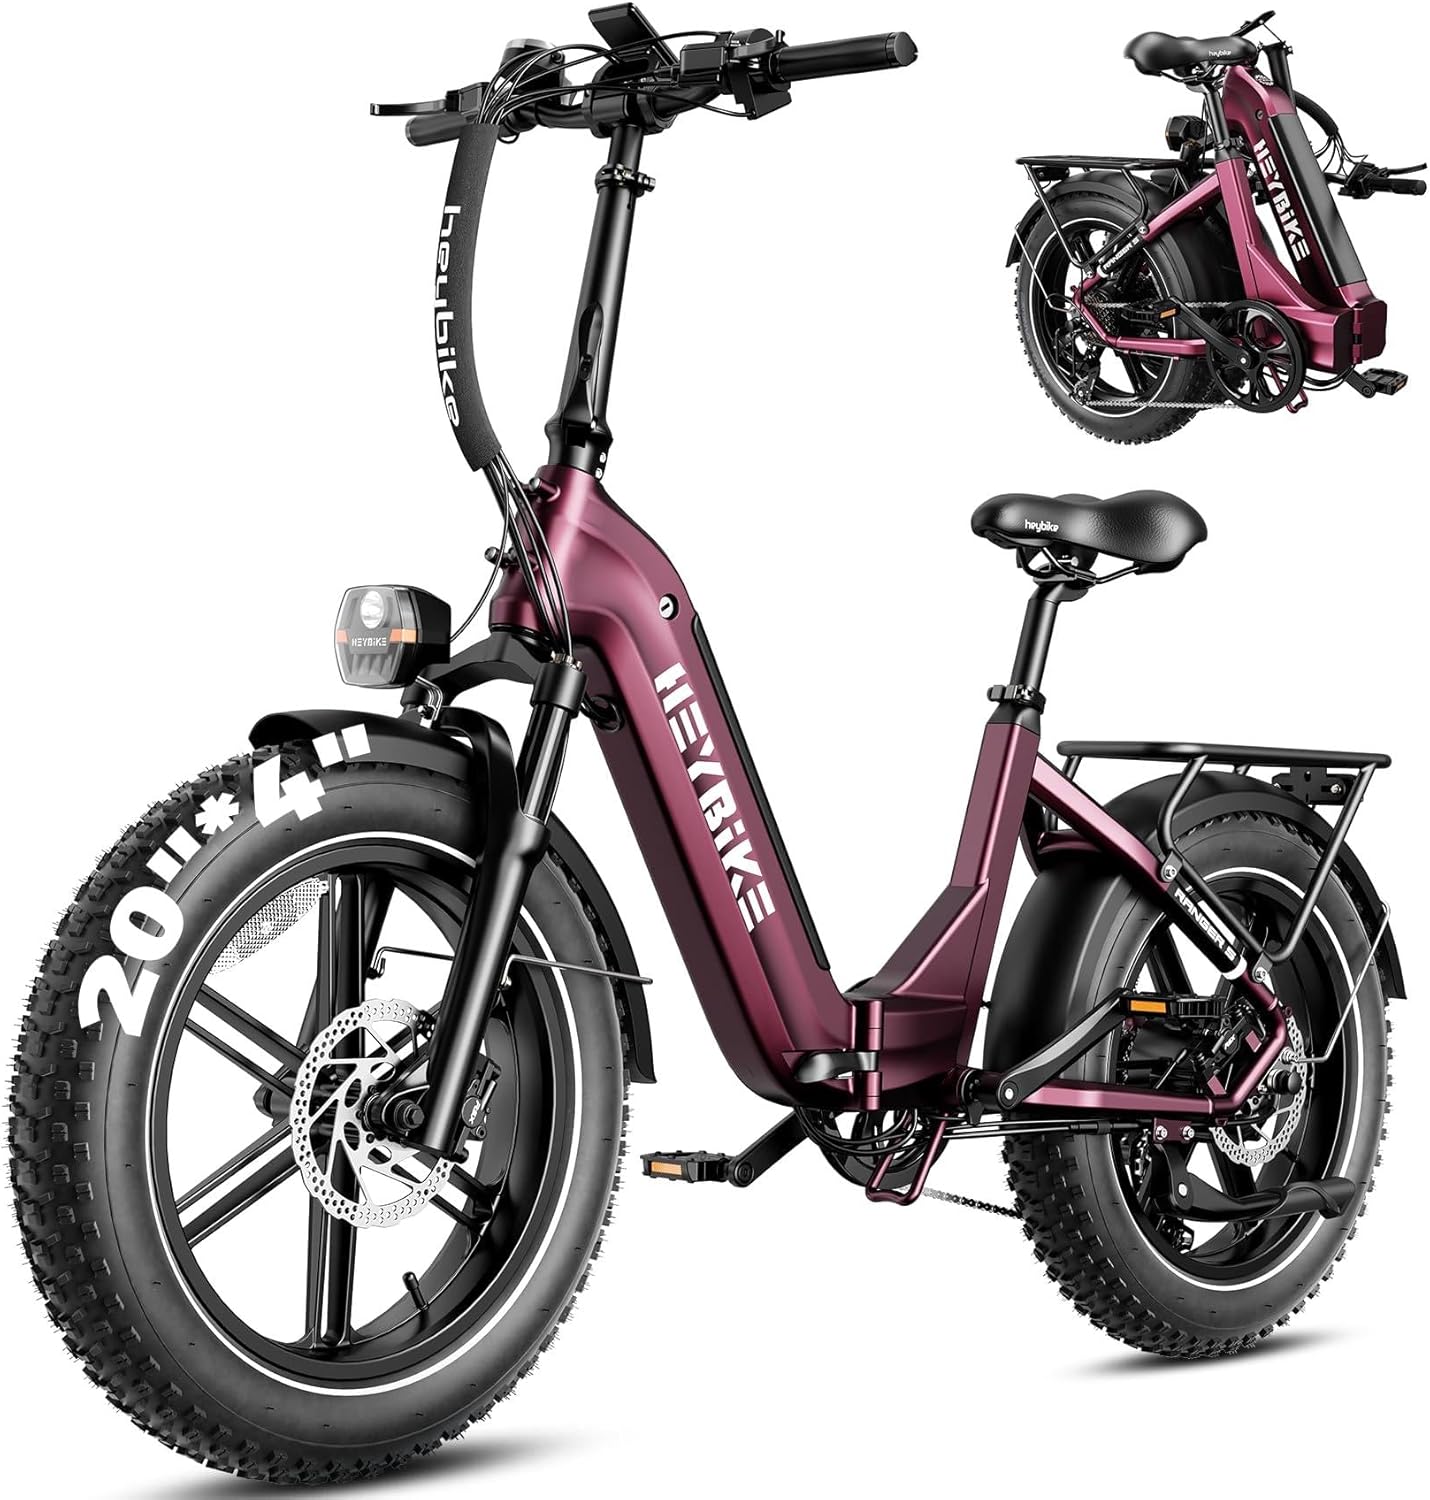
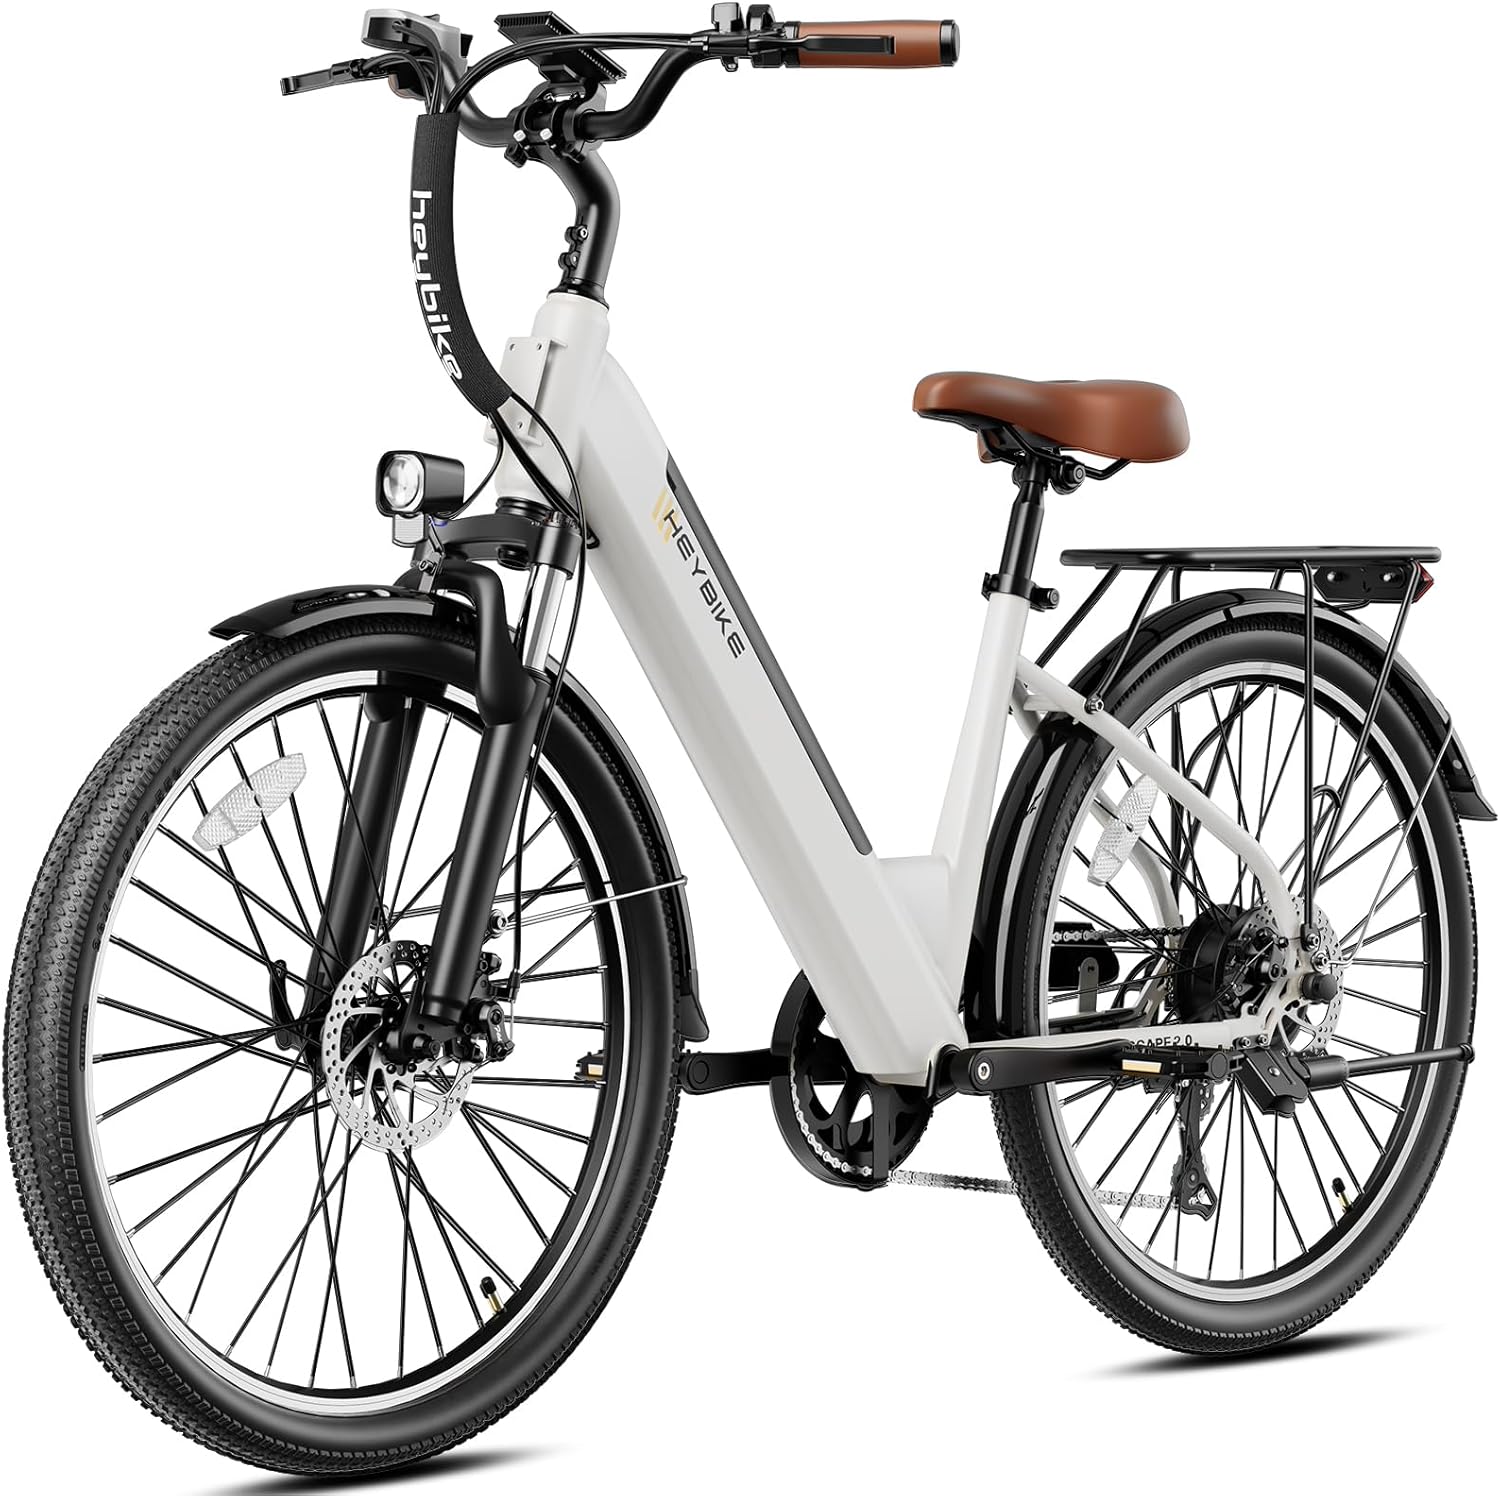
If you're searching how to install torque sensor upgrade on Aventon Aventure, here's the short answer: you'll be swapping the stock cadence-style pedal assist sensor (PAS) at the bottom bracket for a torque-sensing bottom bracket (typically a 68mm threaded BB with an integrated strain-gauge spindle), rerouting the signal harness up to the display/controller, and recalibrating PAS levels in the Aventon settings. Plan on 2–3 hours, basic bike-tool literacy, and a willingness to open the controller bay under the downtube. This 2026 walkthrough covers every step, the parts you actually need, common wiring gotchas on Aventure.1 and Aventure.2 frames, and the post-install tuning that makes the upgrade feel night-and-day better than stock cadence assist.
Why upgrade the Aventon Aventure to a torque sensor in the first place?
The Aventon Aventure ships with a 12-magnet cadence sensor. It's reliable, but it only knows if you're pedaling, not how hard. That means the motor applies a fixed wattage per PAS level regardless of whether you're soft-pedaling on flat ground or grinding up a 12% grade. The result is the well-known "on/off" feel, surging at low speed, and a battery that drains faster than it should because the motor is always pushing the maximum allowed for that PAS level.
When shopping for how to install torque sensor upgrade on aventon aventure, it pays to compare specs, capacity, and real-world runtime before committing.
![Lamicall Bike Frame Bag Waterproof - [1s Release] [2 in 1] Bike Phone Mount Holder, Bicycle Top Tube Bag, Cycling Pouch with Rain Cover, Bikes Accessories Gifts for Phones Under 7"](https://ebikeroo.com/aimg/images/I/71VKkKd2xtL._AC_SX679_.jpg)
A torque sensor measures rider input in real time (usually in Newton-meters at the spindle) and tells the controller to scale assist proportionally. Push harder, get more help; coast lightly, get a gentle nudge. On the Aventure specifically, riders consistently report 15–25% better range, smoother starts from stoplights, and a much more natural ride feel after the swap. It's the single biggest quality-of-life upgrade you can make to this bike, and learning how to install torque sensor upgrade on Aventon Aventure is genuinely within reach for a home mechanic.
Will this work on my exact Aventure model?
Three Aventure generations are in the wild as of 2026:
- Aventure (original, 2021–2022): 750W rear hub, square-taper BB, cadence-only. Torque BB swap is straightforward; controller accepts the analog signal directly.
- Aventure.1 (2023): Same drivetrain layout, slightly updated controller firmware. Same swap procedure.
- Aventure.2 (2024–2026): Updated controller with a dedicated torque-input pin on the main harness (often unpopulated from the factory). Easiest install of the three because the wiring is pre-provisioned—you just need the right pigtail.
If you have the Aventure.2, check the connector cluster near the controller for a 3-pin JST-SM plug labeled "TQ" or color-coded red/black/yellow. If it's there, your bike was built torque-ready and the swap is essentially plug-and-play once the new BB is mounted.
Tools and parts you'll need
- Torque-sensing bottom bracket kit for 68mm BSA threading (most aftermarket Aventure kits use either the ERider TBS-68 or the Bafang T-sensor BB)
- Crank puller (square-taper, M8)
- BB tool (Shimano-style 20-spline)
- 15mm pedal wrench
- 4mm, 5mm, 6mm hex keys
- Phillips #2 screwdriver
- Heat-shrink tubing and a small soldering iron (only if your kit doesn't ship with pre-terminated JST connectors)
- Zip ties and electrical tape
- Bike-grade torque wrench (5–60 Nm range)
- Multimeter (for verifying signal voltage during calibration)
- Smartphone with the Aventon app installed for final PAS tuning
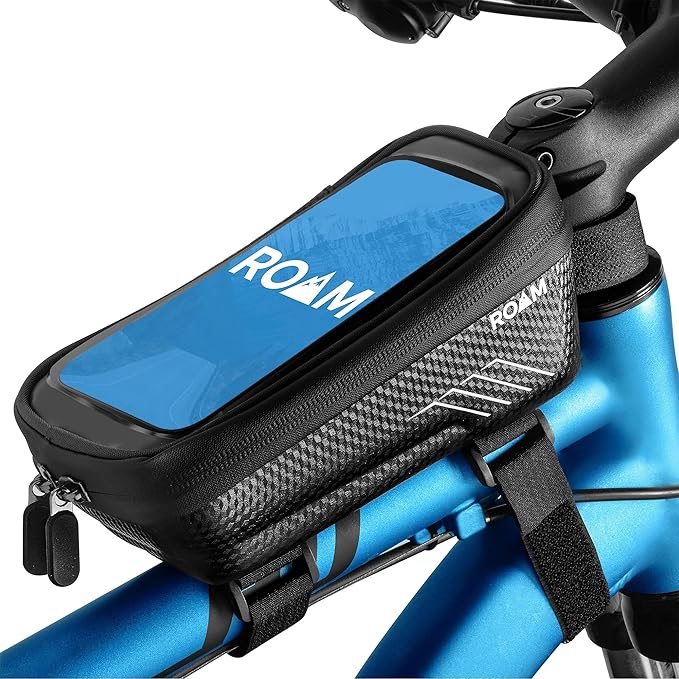
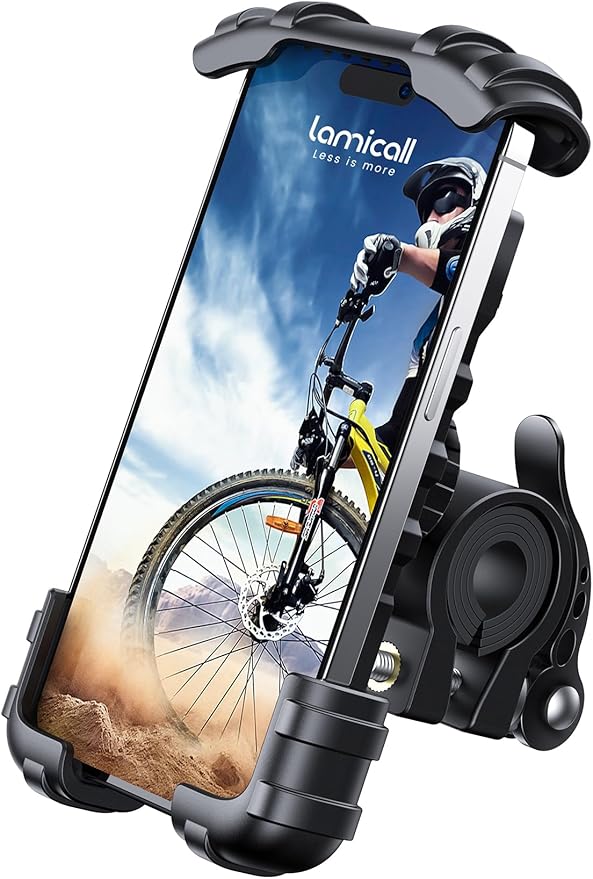
If you're going to be running diagnostic apps while spinning the cranks on a stand, a solid handlebar phone mount makes this much easier than trying to balance your phone on the top tube. The Lamicall Bike Phone Holder clamps onto any standard bar and keeps the screen visible while you toggle PAS levels and watch the live torque readout. You can also store the small bag of screws, the old cadence sensor magnet ring, and your hex keys in a frame bag like the Lamicall Waterproof Bike Frame Bag so nothing rolls off the bench.
Step 1: Drain the battery and disconnect everything
Run the battery down below 30% (safer to work with) and remove it from the downtube. Disconnect the display cable at the stem, the brake cutoff sensors at both levers, and the throttle. Pop the rubber grommet at the bottom of the downtube and locate the controller. On Aventure.1 you'll need to slide the controller out about 4 inches to reach the PAS harness; on Aventure.2 the harness break is accessible without moving the controller.
Step 2: Remove the cranks and old bottom bracket
Pop the dust caps on both crank arms. Use the crank puller to walk the arms off the square-taper spindle—don't force them, work them off evenly. Then break the old BB loose with the 20-spline tool. Remember the non-drive side is reverse-threaded on most Aventure shells. Pull the BB cartridge out, and you'll see the cadence magnet ring sitting on the inboard side of the drive-side cup. That entire assembly goes in the recycling.
Inspect the BB shell threads. If there's any corrosion, chase them with a tap and apply a thin coat of anti-seize before installing the new unit.
Step 3: Install the new torque-sensing bottom bracket
The torque BB looks like a standard sealed cartridge but has a small wiring pigtail exiting the non-drive side. Route this pigtail before you torque the cups down—trying to thread it through afterward is a knuckle-buster. Most kits want the pigtail exiting at roughly the 7 o'clock position when viewed from the non-drive side.
Thread the drive-side cup first (remember: reverse thread), then the non-drive side, alternating quarter turns to seat the cartridge evenly. Torque to manufacturer spec—usually 35–40 Nm for steel cups in an aluminum shell. Don't overtighten; the strain gauges live inside that spindle and excessive shell compression can throw off your zero-point calibration.
Step 4: Route and connect the signal wire
The pigtail needs to travel from the BB up the inside of the downtube to the controller. Fish it through the existing PAS sensor pass-through hole (the old cadence sensor wire took the same path—you can use it as a fish line if you haven't fully removed it yet). At the controller end:
- Aventure / Aventure.1: Unplug the old cadence sensor connector (usually a 3-pin yellow JST). The new torque kit ships with an adapter pigtail that converts the torque BB output to the same connector. Plug it in.
- Aventure.2: Locate the unpopulated "TQ" connector and plug the new harness directly in. Leave the old cadence sensor lead disconnected and tape it off.
Reinstall cranks (torque to 35 Nm on square-taper), reconnect display/brake/throttle, and reinstall the battery.
Step 5: Zero-point calibration
This is the step most DIYers skip and then complain that the assist feels weird. With the bike on a stand and zero load on the pedals:
- Power on the display.
- Hold the Up + Down buttons together for 5 seconds to enter the service menu.
- Navigate to "Sensor Calibration" "Torque Zero."
- Make sure cranks are perfectly horizontal and you're not touching the pedals. Confirm.
- The display will count down 10 seconds and write a new zero reference to the controller.
If your aftermarket kit didn't unlock the service menu, the same zero-point procedure exists in the Aventon mobile app under Bike Settings Advanced Sensor Calibration on app version 4.2 and later.

Step 6: Tune PAS levels
Stock PAS curves are designed around cadence input and will feel weak at first with a torque sensor. In the app, set:
- PAS 1: 25% torque multiplier
- PAS 2: 50%
- PAS 3: 90%
- PAS 4: 150%
- PAS 5: 220%
These are starting points—ride for a week and adjust to taste. If you find yourself constantly riding in PAS 5, lower the upper bands. If PAS 1 feels like it's doing nothing, bump it to 35%.
Comparison: useful gear to have on hand during the install
| Item | Why it helps the install | Best for |
|---|---|---|
| Lamicall Bike Phone Holder | Keeps the Aventon app visible while you spin cranks and calibrate | Bench testing and live PAS tuning |
| Lamicall Waterproof Frame Bag (2-in-1) | Holds your hex keys, magnet ring, and small parts | Organized workspace + ride-home tool kit |
| Roam Universal Phone Holder + Case | Weatherproof case for shop or trail diagnostics | Wet-weather riding after install |
| Airmoto Portable Tire Inflator | Top off tires after the bike has been on the stand for hours | Pre-test-ride pressure check |
| Cordless Tire Inflator Pump | Same as above with larger battery for shop use | Multi-bike garages |
Lamicall Bike Phone Holder
A torque sensor install lives or dies on calibration, and calibration lives in the Aventon app. Mounting your phone to the bar (not flopping around in a pocket) lets you watch the live torque readout while you spin the cranks. The clamp fits 22–32mm bars, which covers the Aventure's stem perfectly. Check current price on Amazon.
Lamicall Waterproof Bike Frame Bag with Phone Mount
If you'd rather have a single accessory that handles both the phone-mount job during install and stores tools for the test ride, the 2-in-1 frame bag is the move. Mounts to the top tube, fits a phone up to 6.8", and the interior pocket swallows your hex keys, the calibration cheat sheet, and a multitool. See it on Amazon.
Roam Universal Bike Phone Holder + Waterproof Storage Case
For riders who plan to keep diagnosing or logging data after the install (firmware tweaks, range tests, etc.), the Roam combines a secure handlebar mount with a sealed storage pouch. Useful when you're doing test rides in the rain to confirm the new torque curve. View on Amazon.
Airmoto Portable Tire Inflator
After your Aventure has been on the work stand for half a day, the 4.0" Kenda Krusader tires will have lost a few psi. Getting them back to spec (we recommend 25 psi rear / 22 psi front for the post-install test ride) makes a meaningful difference in how the new torque sensor feels at low speeds. The Airmoto is tiny enough to live in the frame bag. Check it out on Amazon.
Cordless Tire Inflator Portable Air Compressor Pump
For garage use or if you have multiple ebikes, a larger cordless inflator runs longer per charge and reaches higher pressures faster than the pocketable units. See current pricing.
Test ride checklist
Before you take it out on the road:
- Spin cranks backward—motor should stay off (good torque sensors ignore reverse rotation).
- Lean on a pedal at a standstill in PAS 1—you should feel a gentle push.
- Walk the bike with PAS off—no phantom assist.
- Check brake cutoff still kills the motor.
- Confirm throttle still works independently (it should bypass torque input entirely).
If any of these fail, recheck your wiring before going further. For deeper diagnostics, see our Aventon Aventure controller error code guide and our walkthrough on the best ebike multitools for Aventon bikes.
Common problems and fixes
Motor surges at low pedal pressure: Zero-point calibration was done with weight on the pedals. Redo it with cranks horizontal and feet completely off.
No assist at all: Signal wire isn't seated, or you forgot to disconnect the old cadence sensor on Aventure.2 (it can confuse the controller). Pop the harness, verify continuity with a multimeter—you should see roughly 1.5–2.5V on the signal pin at rest.
Assist feels notchy at takeoff: PAS 1 multiplier is too low. Bump to 35–40% in the app.
Display throws Error 30: Controller doesn't recognize the new sensor. Some Aventure.1 controllers need a firmware bump to v2.3.4 or later—schedule a service appointment or flash via the Aventon dealer tool.
For broader maintenance, our Aventon Aventure tire pressure guide pairs well with this upgrade since changing assist behavior often makes riders want to retune their tire setup too.
Frequently Asked Questions
How long does it take to install a torque sensor on an Aventon Aventure?
A first-timer should budget 2–3 hours including calibration and a short test ride. If you've swapped a bottom bracket before, you can knock it out in 90 minutes. The slowest part is usually fishing the signal wire up the downtube—budget extra time if your bike has internal cable routing that's already crowded.
Will adding a torque sensor void my Aventon warranty?
As of 2026, modifying the drivetrain or controller wiring voids the powertrain portion of the Aventon warranty. The frame, fork, and non-electrical components remain covered. If your bike is under 12 months old and you're worried, wait until coverage lapses or consider the Aventon-authorized aftermarket kits that ship with a paper trail showing dealer involvement.
Can I install a torque sensor on the Aventon Aventure without removing the controller?
On the Aventure.2 yes—the harness break is accessible through the downtube grommet. On the original Aventure and Aventure.1 you'll need to slide the controller out a few inches to reach the cadence sensor connector. Either way the battery comes out first.
What's the difference between a torque sensor upgrade and a cadence sensor on the Aventure?
Cadence sensors detect pedaling motion only and apply preset wattage per PAS level. Torque sensors measure how hard you push and scale assist proportionally. Practical result: torque feels more like a regular bike with a tailwind, while cadence feels more like a scooter that needs pedal motion to unlock the throttle.
Do I need to recalibrate the torque sensor on my Aventon Aventure after every ride?
No. Zero-point calibration is a one-time procedure after installation. You only need to redo it if you change the bottom bracket, fully drain the controller capacitor, or notice phantom assist at rest. Most riders run the same calibration for the life of the sensor.
What's the best aftermarket torque sensor kit for the Aventon Aventure in 2026?
The ERider TBS-68 is the most popular plug-and-play kit because it ships with the Aventon-compatible JST adapter pre-terminated. Bafang's T-sensor BB performs slightly better on steep climbs but requires you to crimp your own connector. Both cost in the $130–$180 range as of mid-2026.
Can I install a torque sensor upgrade on the Aventon Aventure if I have the step-through frame?
Yes. The step-through Aventure uses the same 68mm BSA bottom bracket shell and the same controller harness as the high-step. The only difference is downtube routing—the wire path is slightly shorter, which actually makes the install easier.
Will a torque sensor upgrade improve the range of my Aventon Aventure?
In real-world testing, riders report 15–25% more range from the same battery after switching to torque assist, primarily because the motor stops dumping full PAS-level wattage when you're soft-pedaling on flats or downhills. Combined with proper tire pressure (see our range optimization guide), 70+ miles per charge on PAS 2 becomes realistic.
Key Takeaways
- Choosing the right how to install torque sensor upgrade on aventon aventure means matching capacity and output ports to your actual devices
- Always check actual watt-hours (Wh), not just watts — runtime depends on Wh, not peak output
- Also covers: aventon aventure torque sensor mod
- Also covers: upgrade cadence to torque ebike
- Also covers: aventure 2 torque sensor install
- Compare price-per-Wh across models to find the best value for your budget